You can reorder the fields displayed by a testimonial template by using the Strong Testimonials: Advanced Views extension.
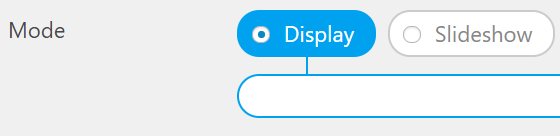
Start by going to your desired view in the backend: Testimonials Views. Make sure the view Mode is set to either Display or Slideshow.
Select the fields that you’ll like to have in the view:
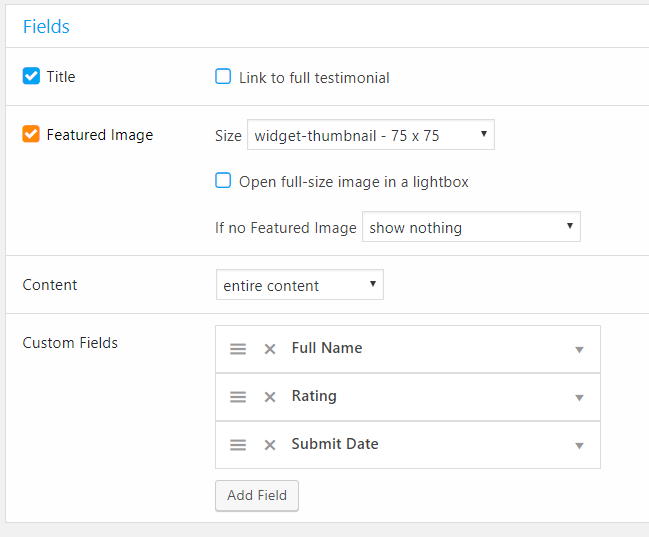
In the example above our displayed fields are: Title, Photo (Featured Image), Content, Full Name, Rating and Submit Date.
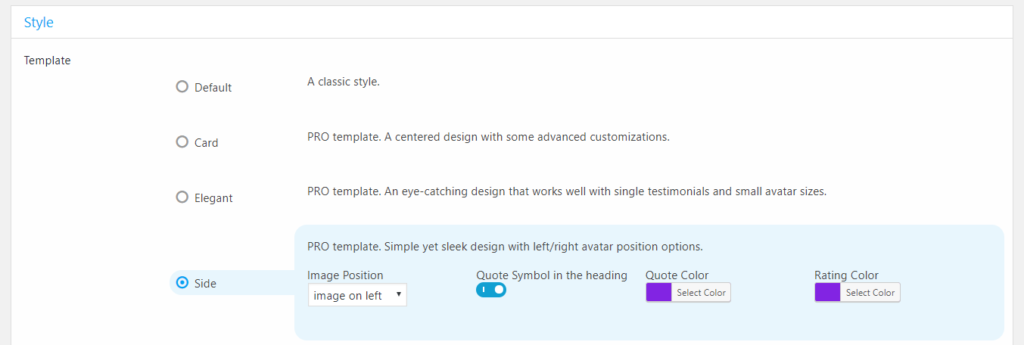
Don’t forget to select a testimonial template:
Clicking Save All Changes at the bottom of the page will generate a shortcode for you [testimonial view="..."] that you will need to place on your desired page.
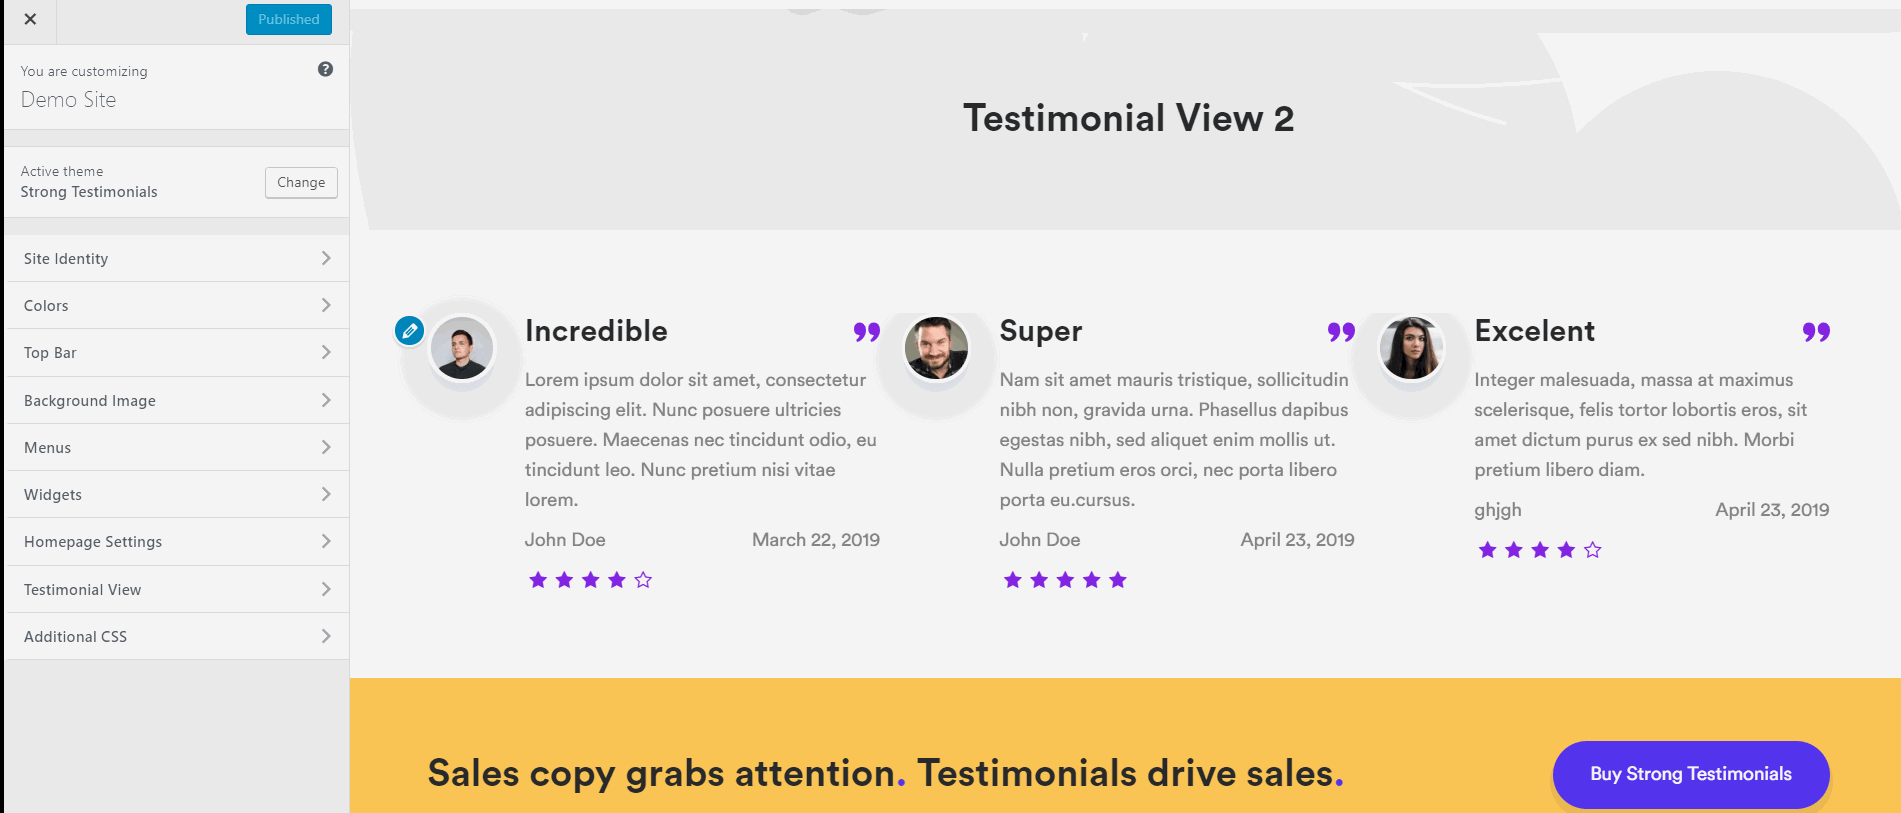
You can now go to that page in the WordPress customizer and start making changes to that view, as well as defining a custom field order.
There are four types of fields that you can choose from when defining the order of the fields.
Base Fields
These are the basic fields that can be included in the Testimonial: the title, the content, the photo (avatar).
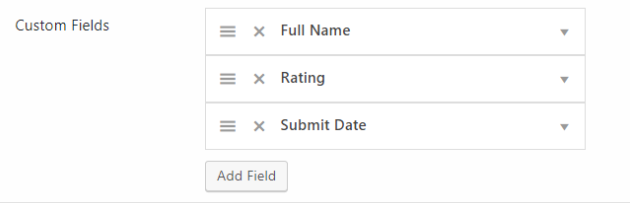
Custom Fields
These are the fields that you have added in the Custom Fields section of that view:
Mixed Fields
These are fields that might look better together, rather than separately: Title + Content, Photo + Content
Custom Template Fields
Some templates might have fields with special slots where you can place different custom fields.
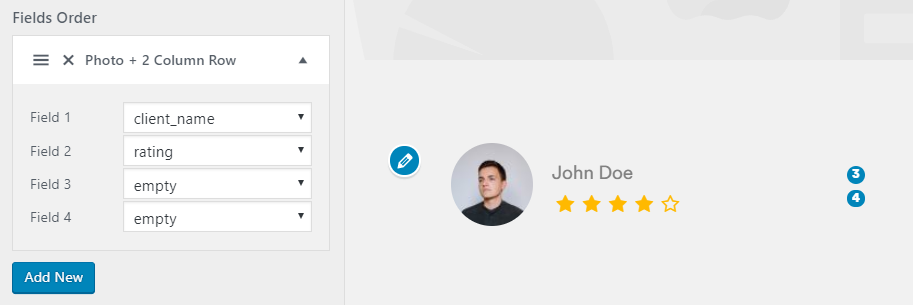
For example, on the Elegant template, you can add the Photo + 2 Column Row field, where you can select up to 4 custom fields and place them on predefined slots in the template.
Try experimenting with these fields to create unique testimonial layouts. When you’re ready, click the Publish button on the customizer to save your changes.