
If you have a website and have had it up and running for a while, you’ve almost certainly had to include testimonials sooner or later. The issue is that testimonials can often take up too much space on your site, causing potential purchasers to abandon your site because they can’t discover what they’re looking for. The solution is to learn how to add testimonials in your wordpress sidebar or footer with Strong Testimonials!
Table of contents
There’s no doubt that a lot of people utilize testimonials in sidebars to display business quality, persuade customers, and increase sales. But what happens if you don’t use it correctly or don’t use it at all?
Here are just some of the few common mistakes we’ve seen from a multitude of testimonial tools:
1. ❌ They don’t provide a way to add testimonials to your sidebar – Some businesses don’t go through the trouble of creating a testimonial sidebar. They think the customer will see the dedicated testimonials page but that won’t be the case most of the time.
2.❌ You can’t place testimonials on your entire website – If you don’t make use of all the marketing tactics, including adding testimonials everywhere especially in your website footer, you will quickly notice that your sales won’t increase at all.
3.❌ Some of them don’t provide essential customizations to make them trustworthy – You risk losing customers because they don’t trust you enough by what they see on your website. If you don’t put a name and a face to your testimonials, people might think that those testimonials are fake.
Step 1: Create and customize the testimonials
By default, WordPress does not offer you an option to display testimonials. Let alone guides on how to add testimonials in your wordpress sidebar. There are, however, a few themes that offer this functionality but they are still pretty limited to what they can offer you. On top of that, well-known page builders such as Elementor, Divi, and Beaver Builder have the option to offer you a module or widget for testimonials but these are as well limited.
First of all, you need to install and activate Strong Testimonials. But how do we do that? If you are having difficulties you might want to take a look at our guide on how to install Strong Testimonials.

Strong Testimonials Plugin
We’ve built the #1 WordPress plugin for collecting, managing, and displaying testimonials. Drive more sales by leveraging your existing user audience.
We will briefly explain how to create a testimonial and display it on the sidebar. Furthermore, if you want to know more, head over to our guide that shows you how to get started.
Firstly, after you installed the plugin, simply go to Dashboard > Testimonials > Add new.
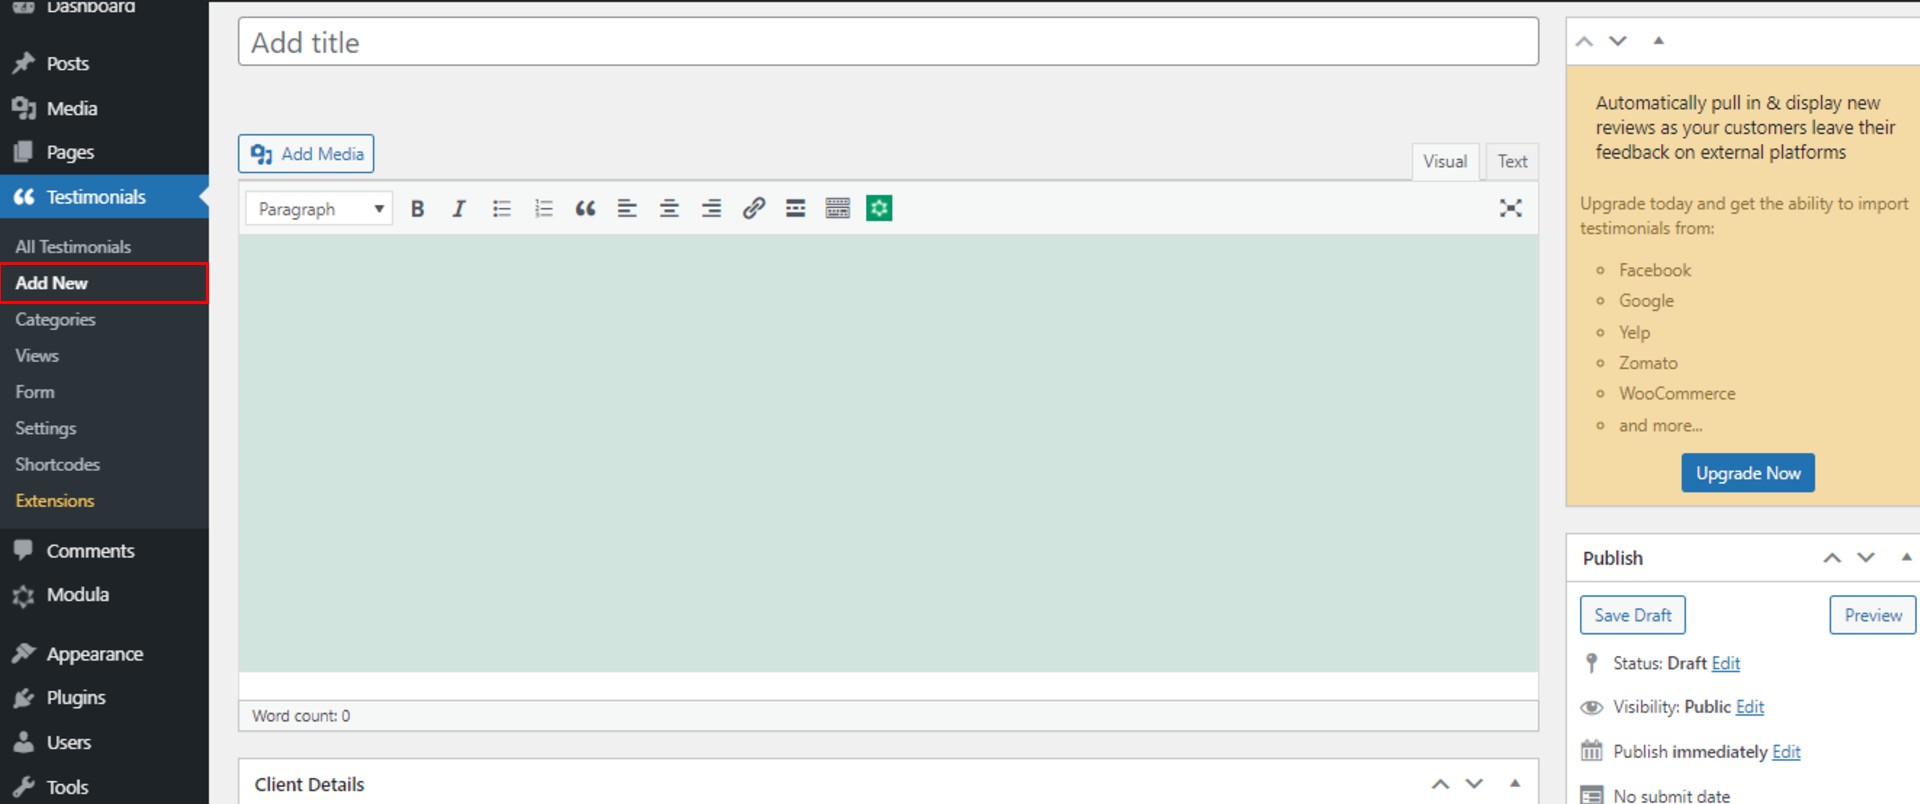
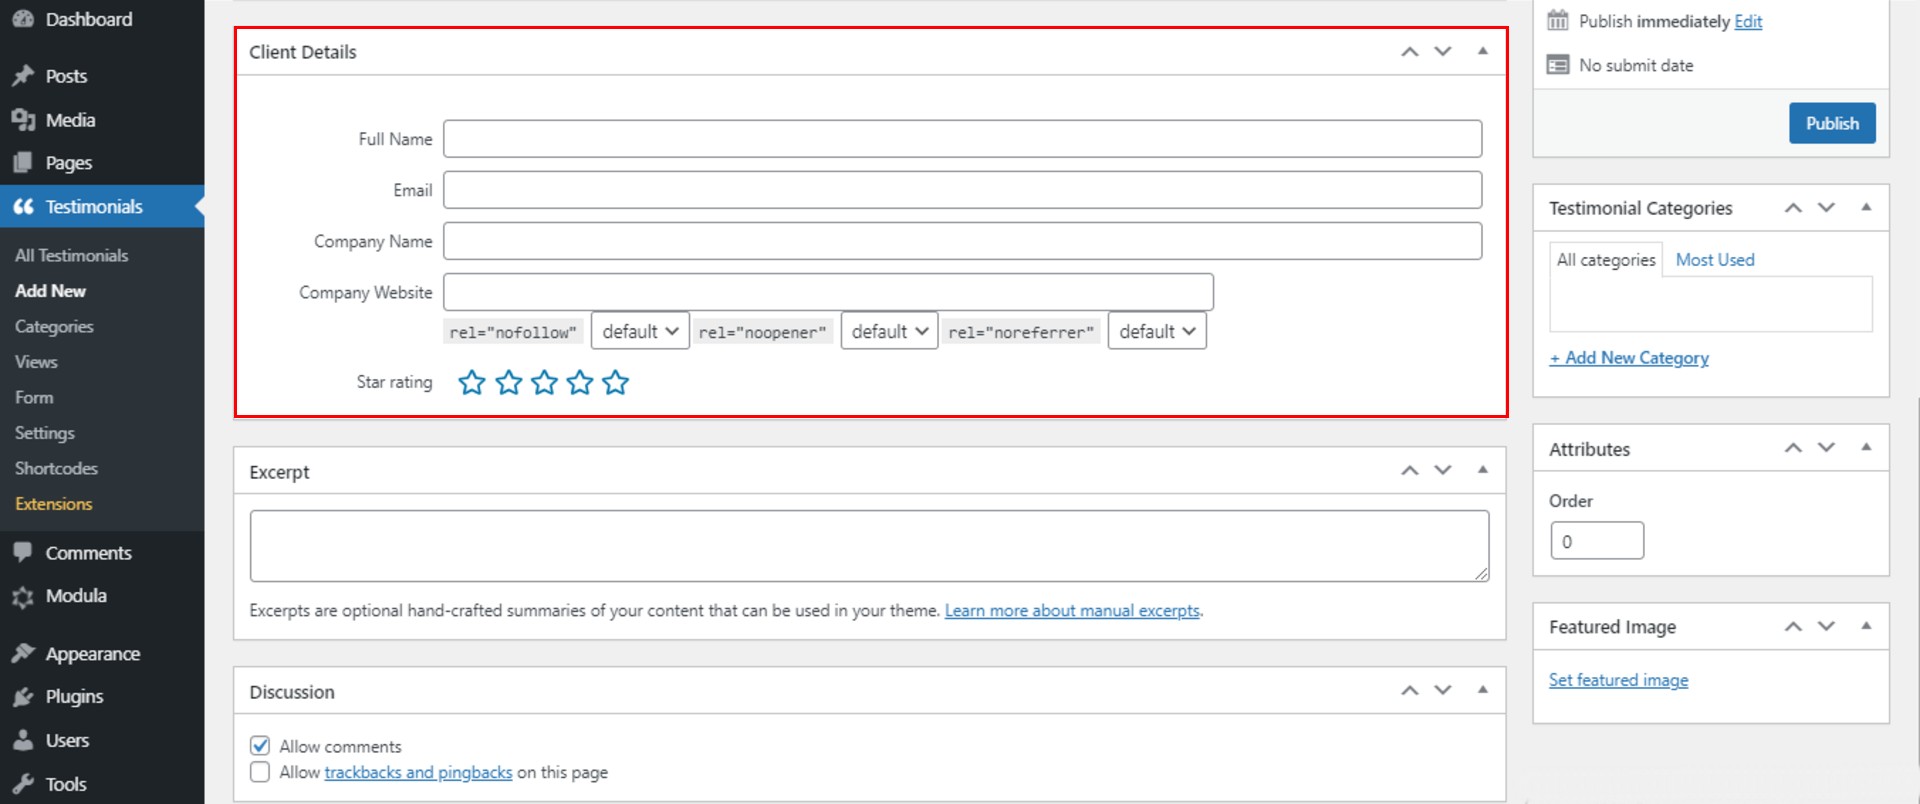
Here are many fields you have to fill, like custom’s name, email address, company, or website. You can even add a featured image if the customer provides you one.
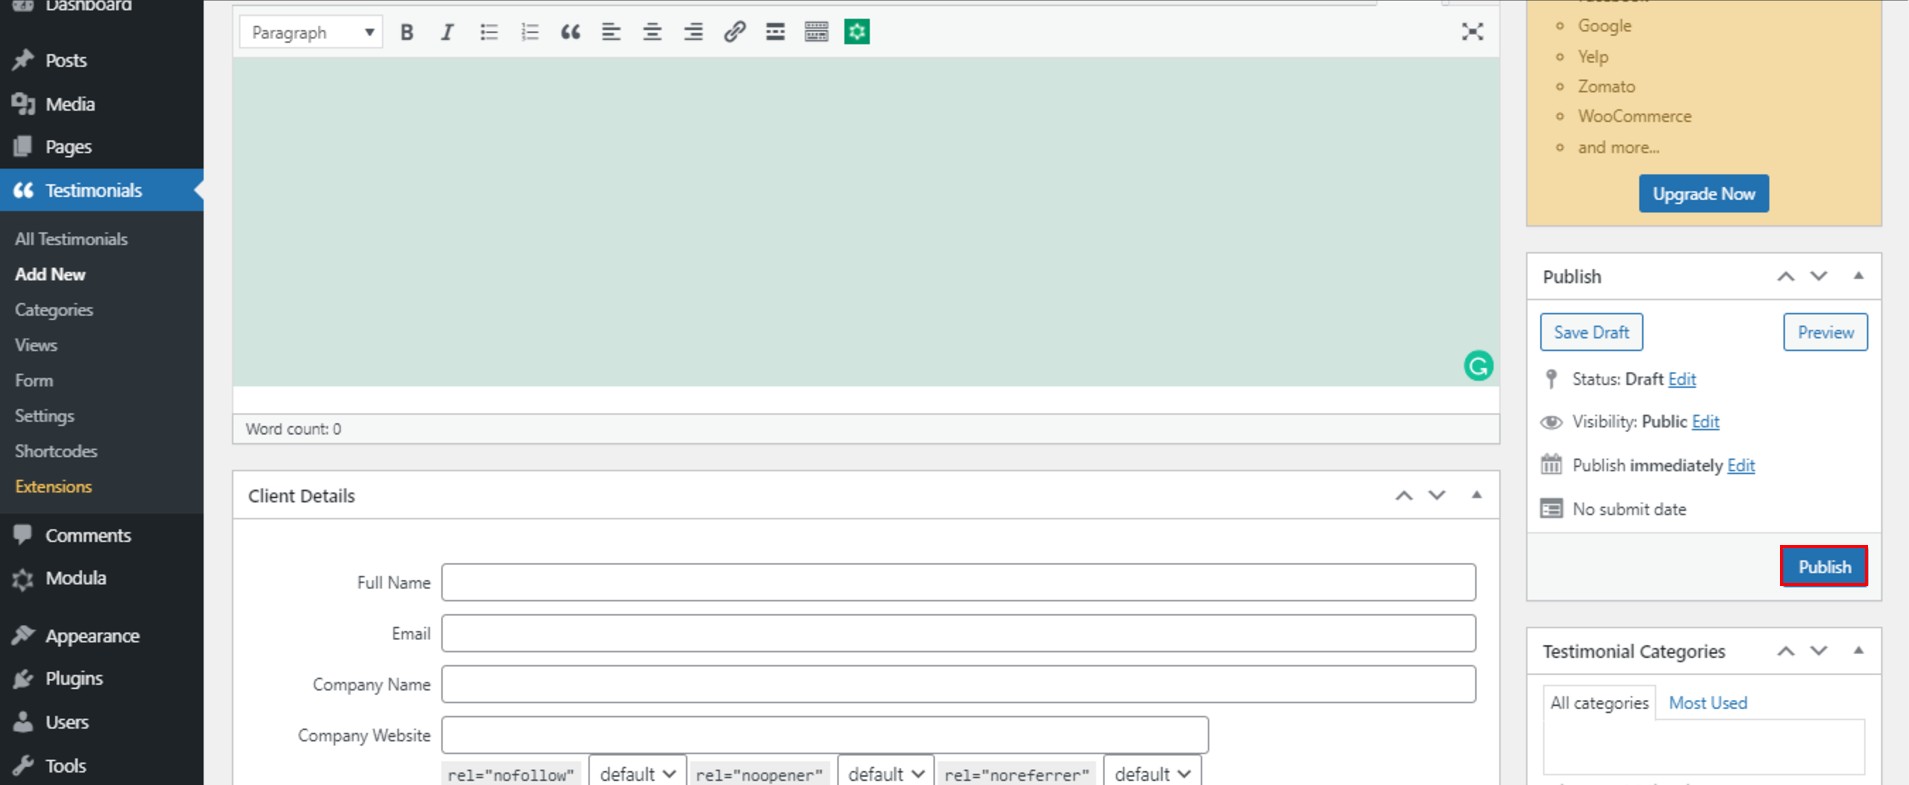
After adding all the information about the clients, don’t forget to click on the Publish button.
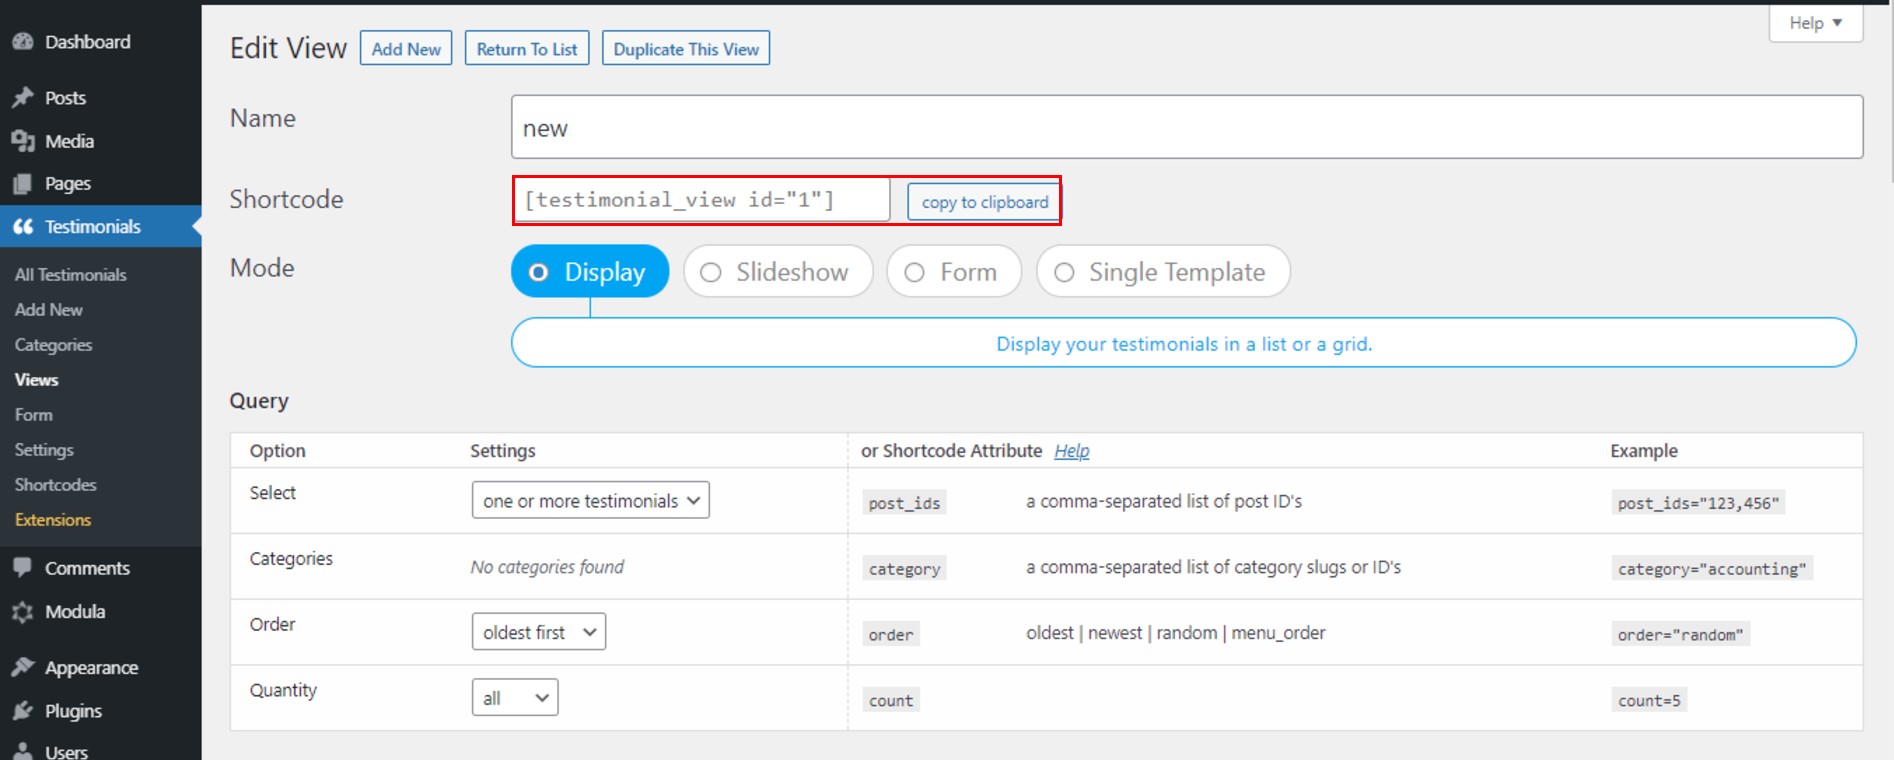
Next, go to Views > Add New to create the testimonial.
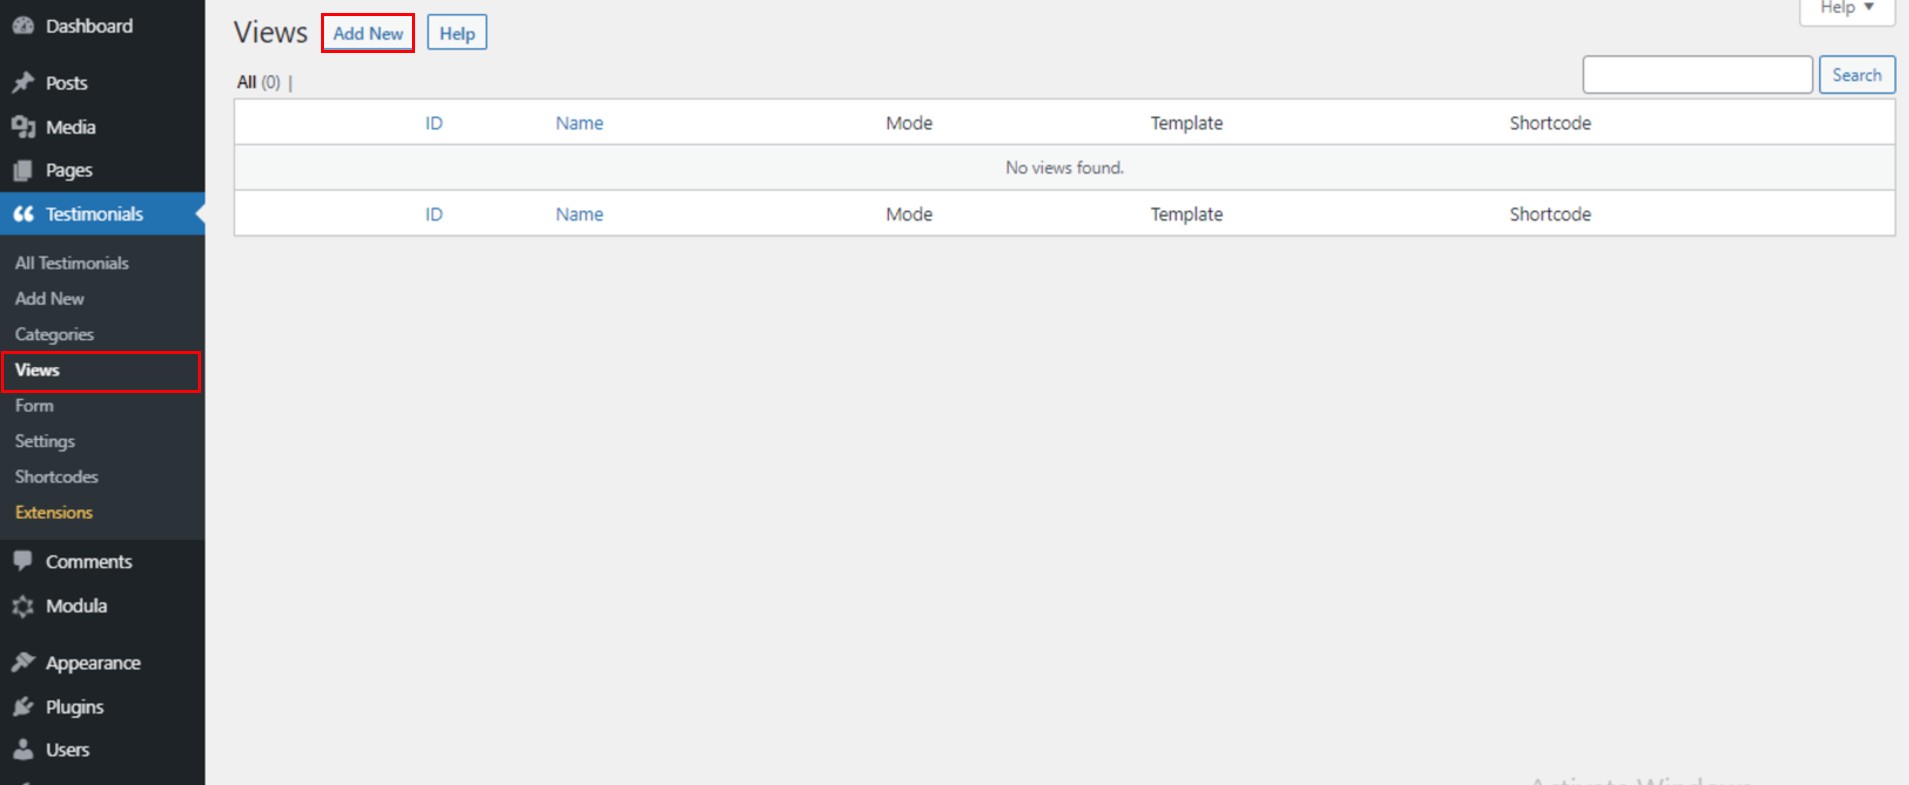
You have three different available options to choose from: display, slideshow, or form. Moreover, each one of them is useful in its own way. But play around and explore to see what best suits your website layout.
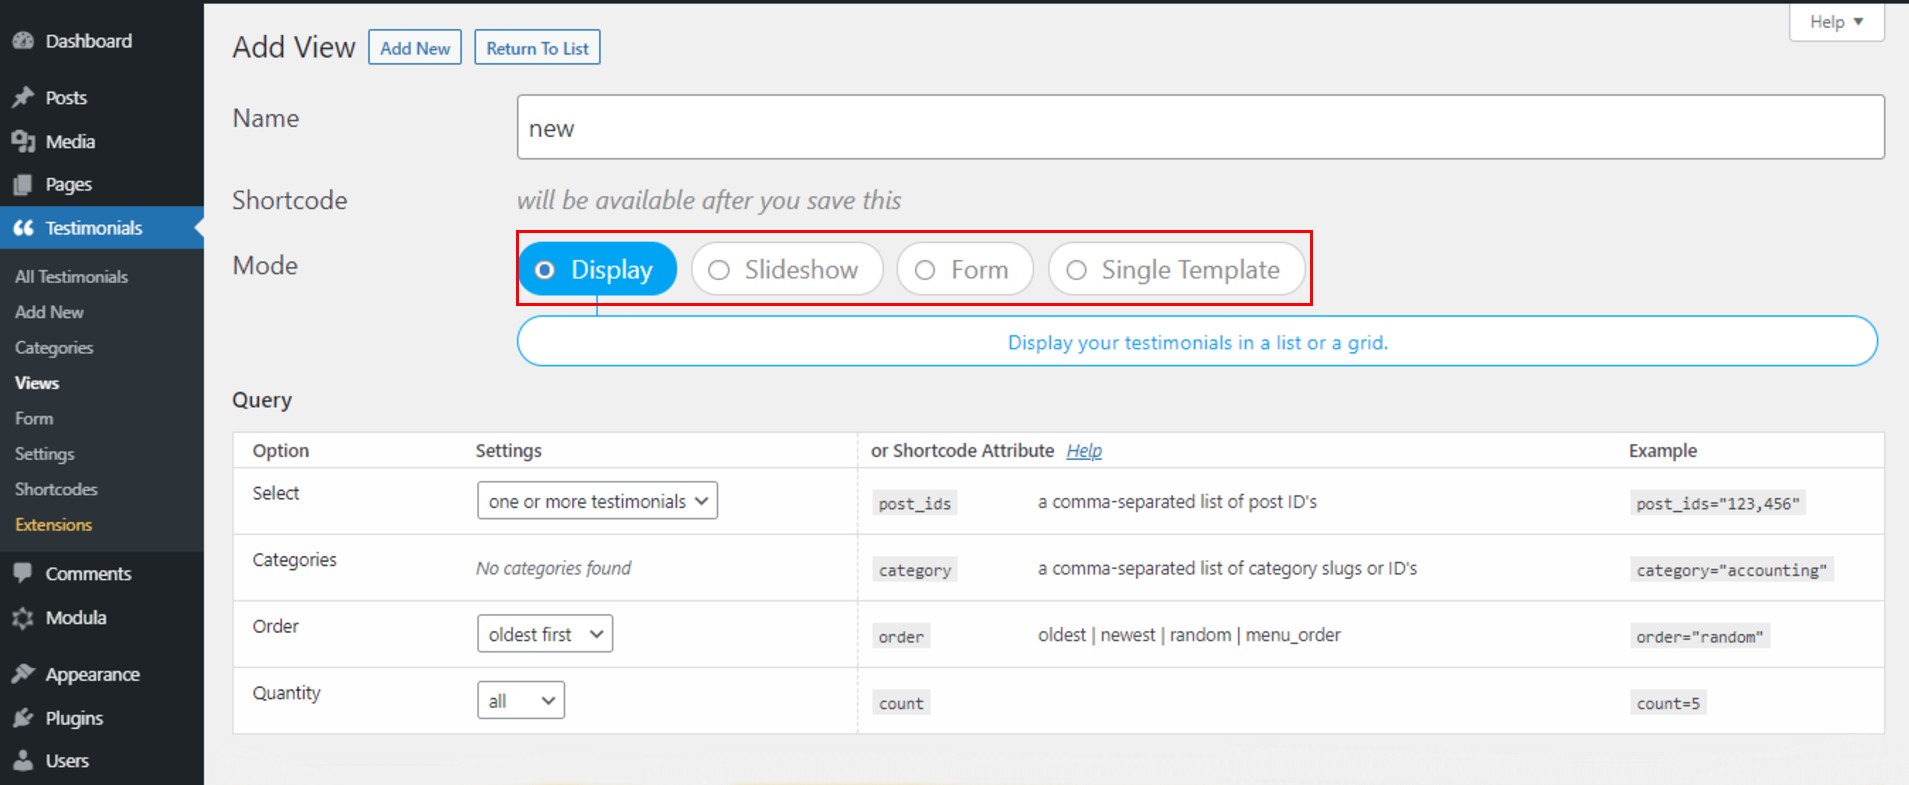
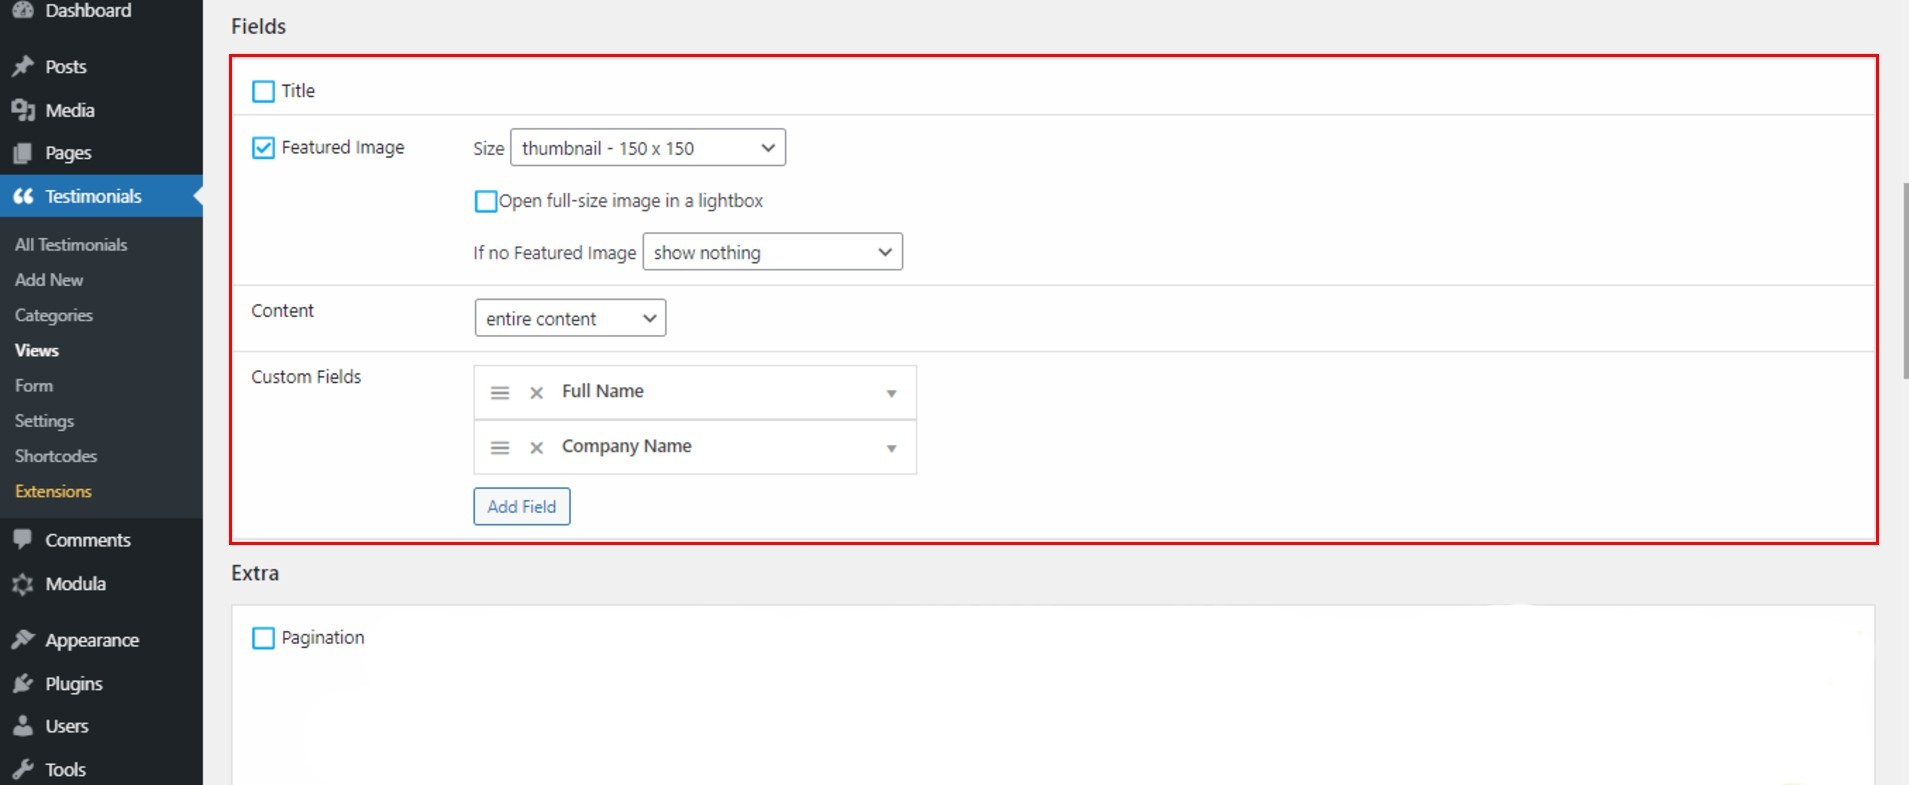
There are many options you can edit at this step. We will choose the display mode, which is a classic one. On top of that, you can edit the featured image size, the content, and custom fields. You can even add a new field.
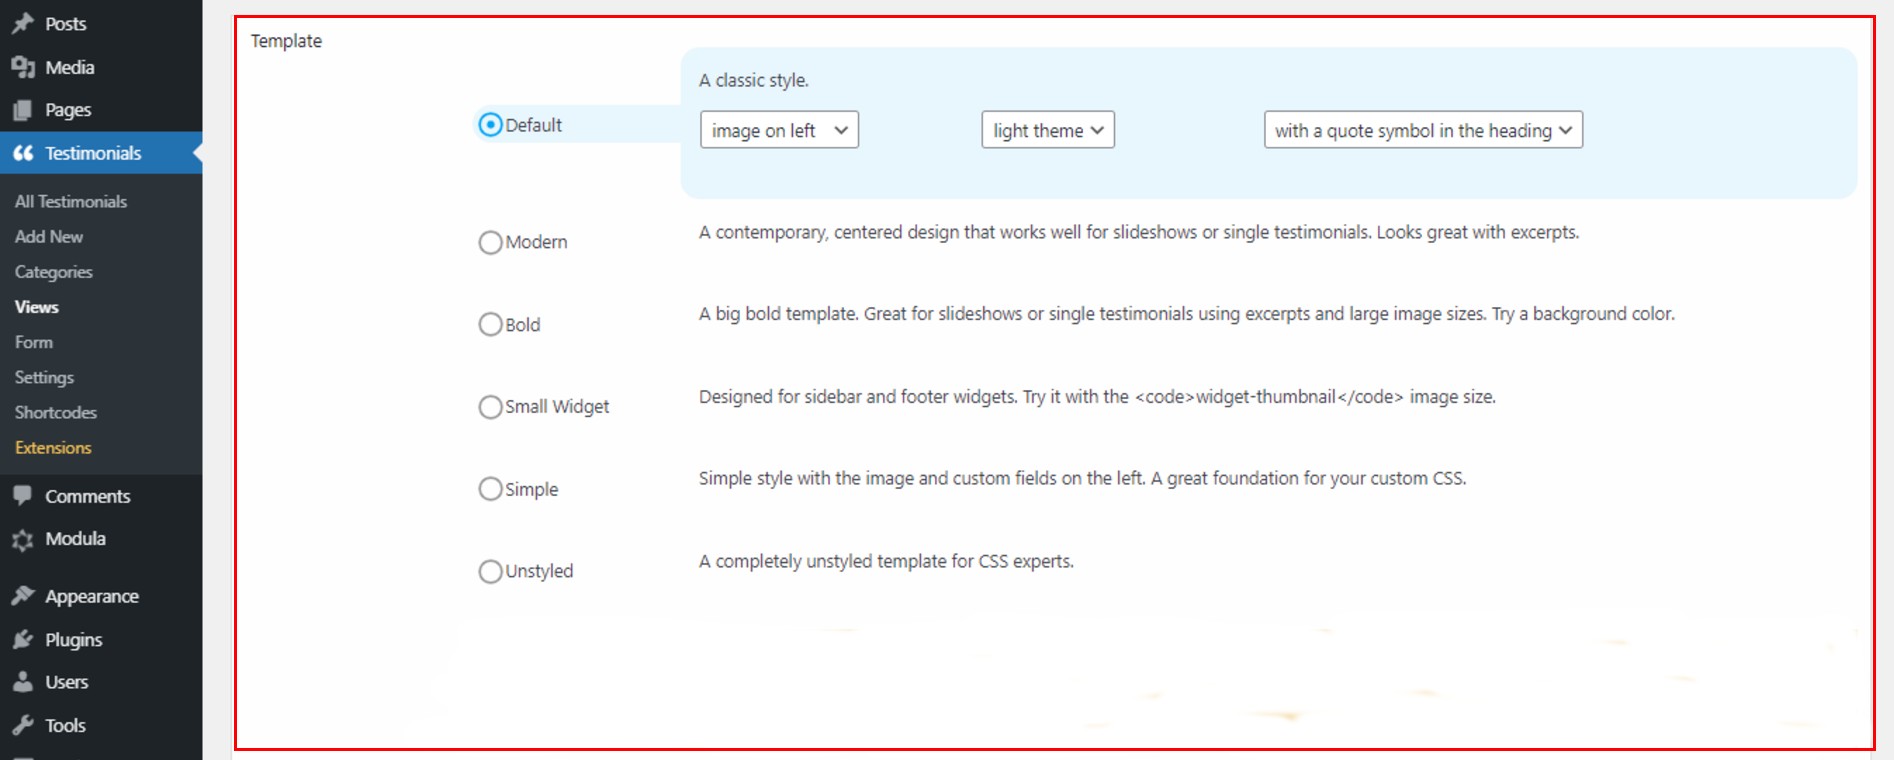
You can go furthermore and style your testimonials by selecting a template. You can choose from default, modern, bold, small widget, simple, and unstyled.
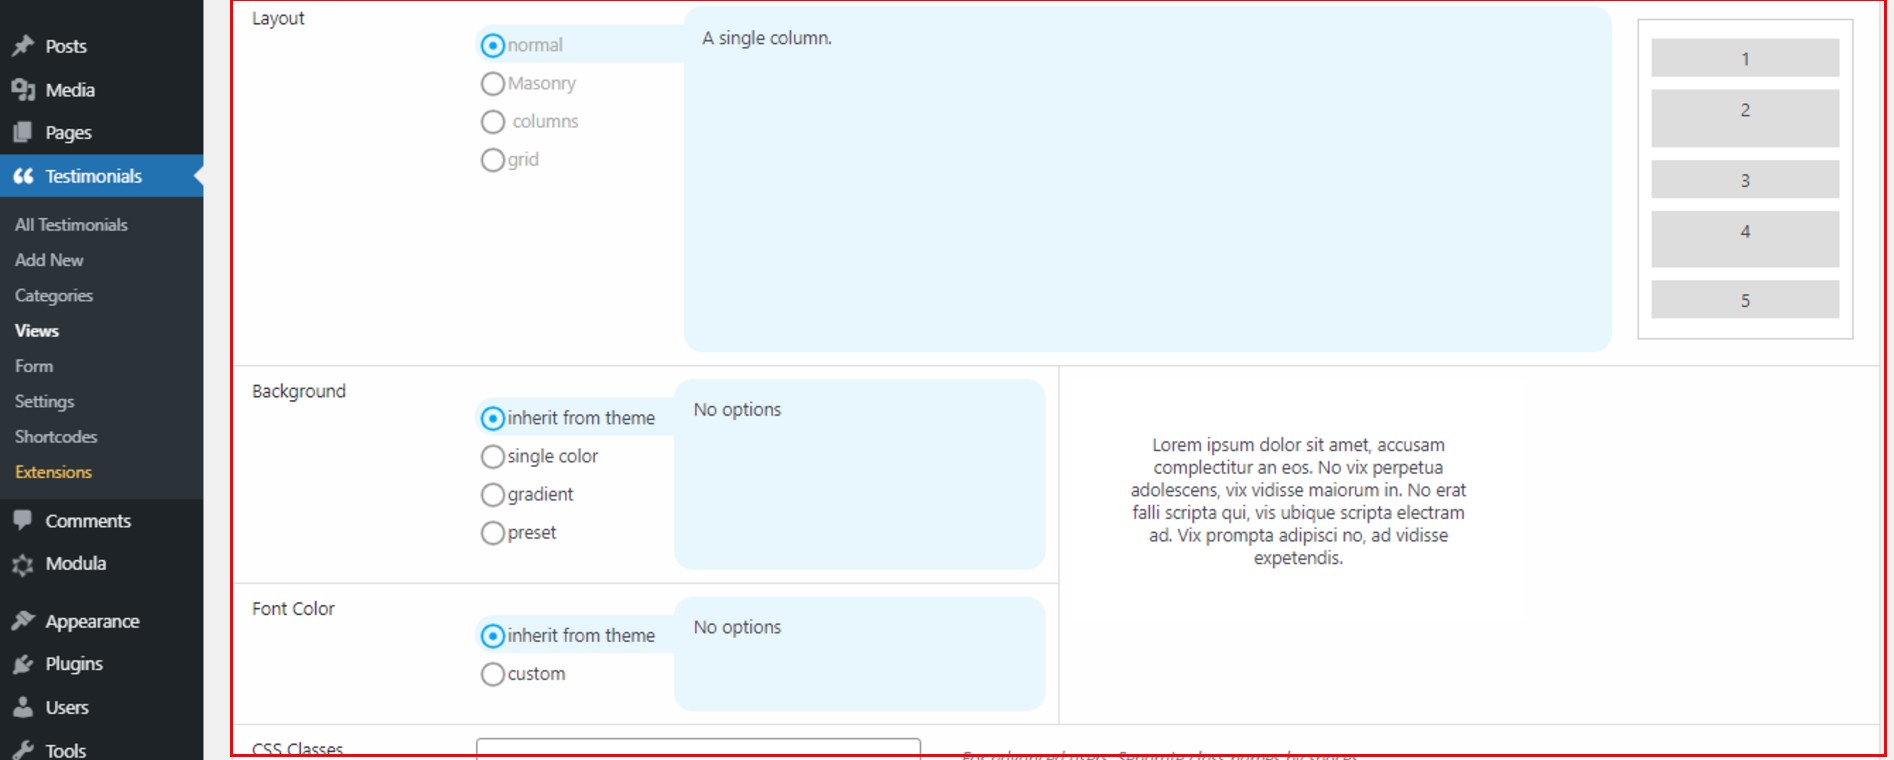
There are even more features to edit: background, layout, font color, and CSS classes.
Don’t forget to click on the Save Changes button when you are all done with editing.
After saving your changes, the plugin automatically generates a shortcode you can use to display your testimonials. Simply click on Copy to Clipboard or copy it manually.
To learn about more available shortcodes and how you can customize them, read our knowledge base article.
Step 2: Add testimonials to your page
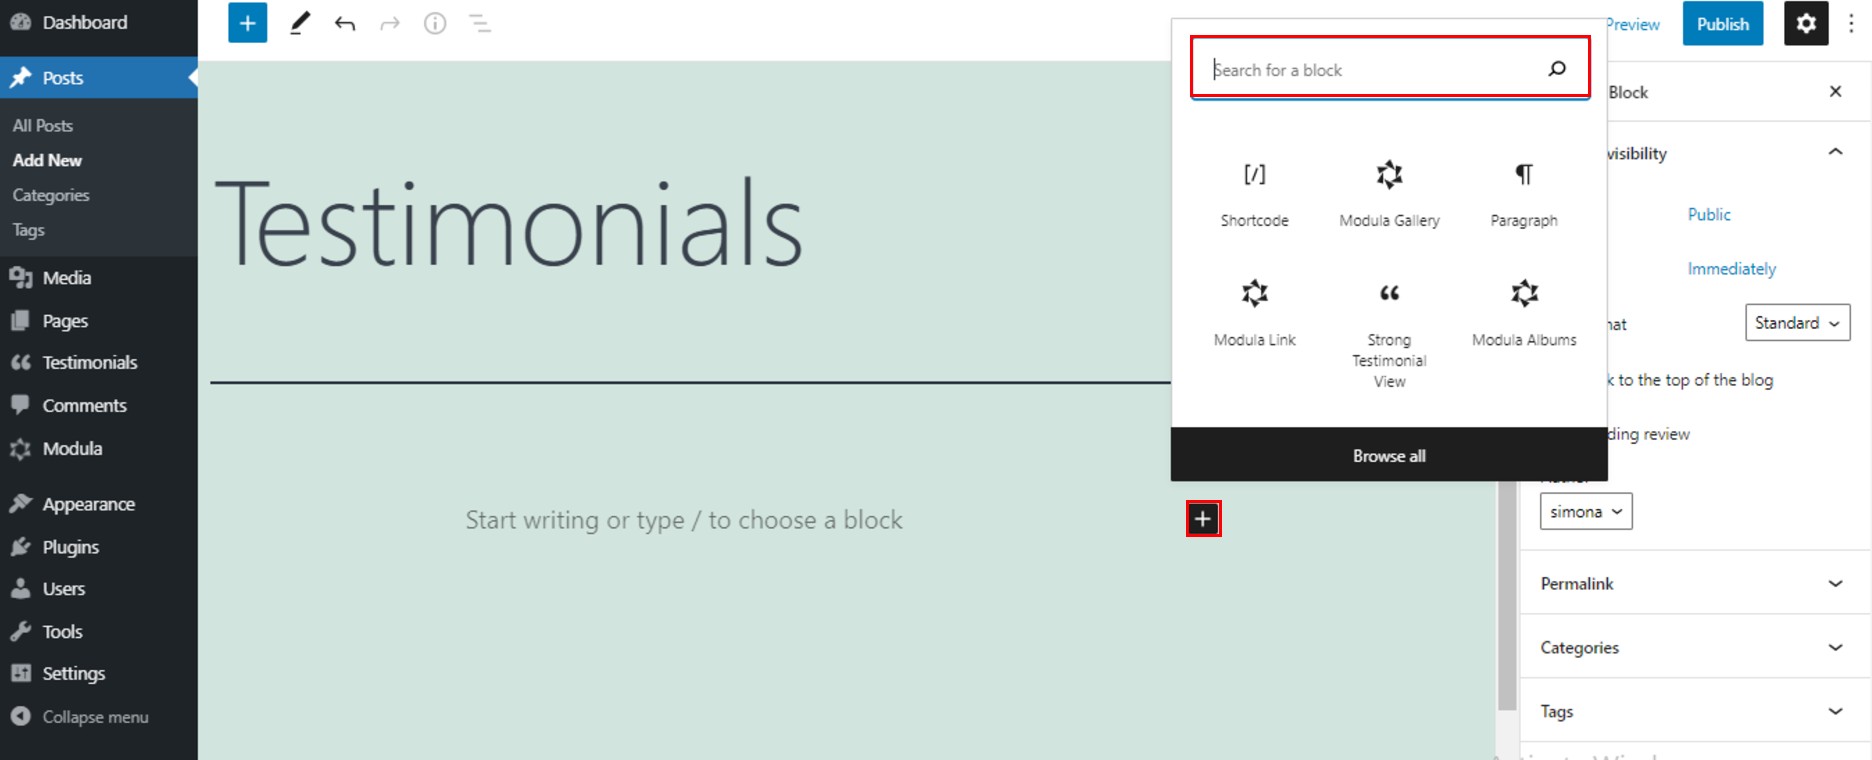
In addition, with the shortcode copied to your clipboard, go to the page or the post you want to share your testimonials and click on the “+” icon. Next, go to the search bar and type Shortcode.
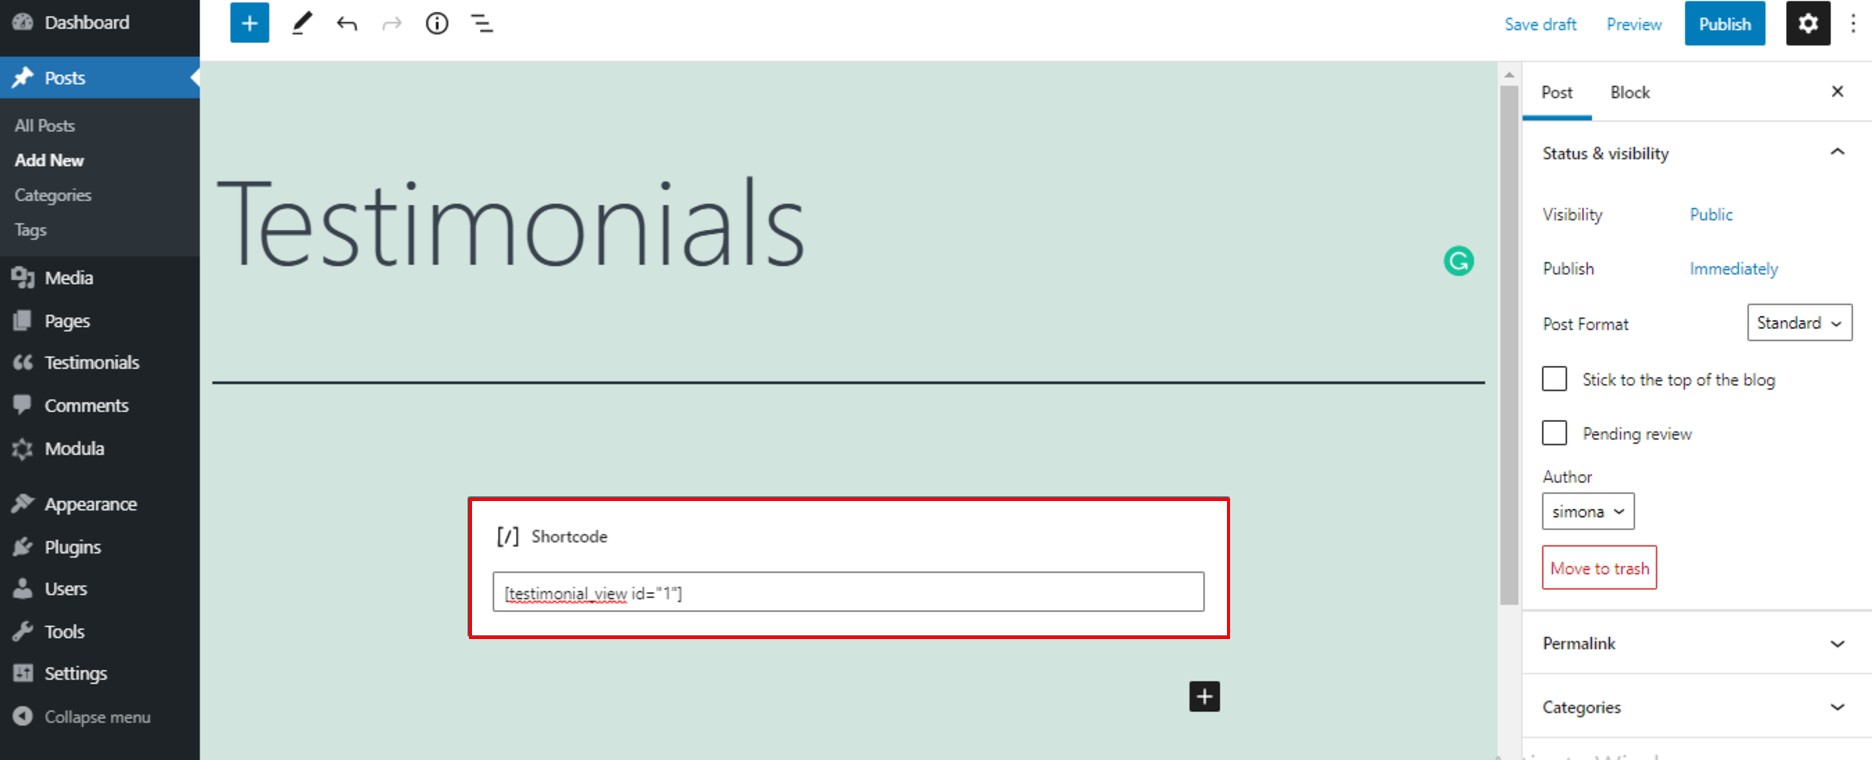
A new box will appear and here you have to paste the shortcode you already copied to your clipboard.
Step 3: How to put testimonials in the sidebar of your WordPress website
To actually add testimonials in the sidebar you will need a theme that supports a sidebar. You can make use of the Isis theme or any other theme you want to build your website on that allows you to create and customize a sidebar.
Once you installed the theme of your choice, head over to Appearance > Widgets > click on the Strong Testimonials View widget.
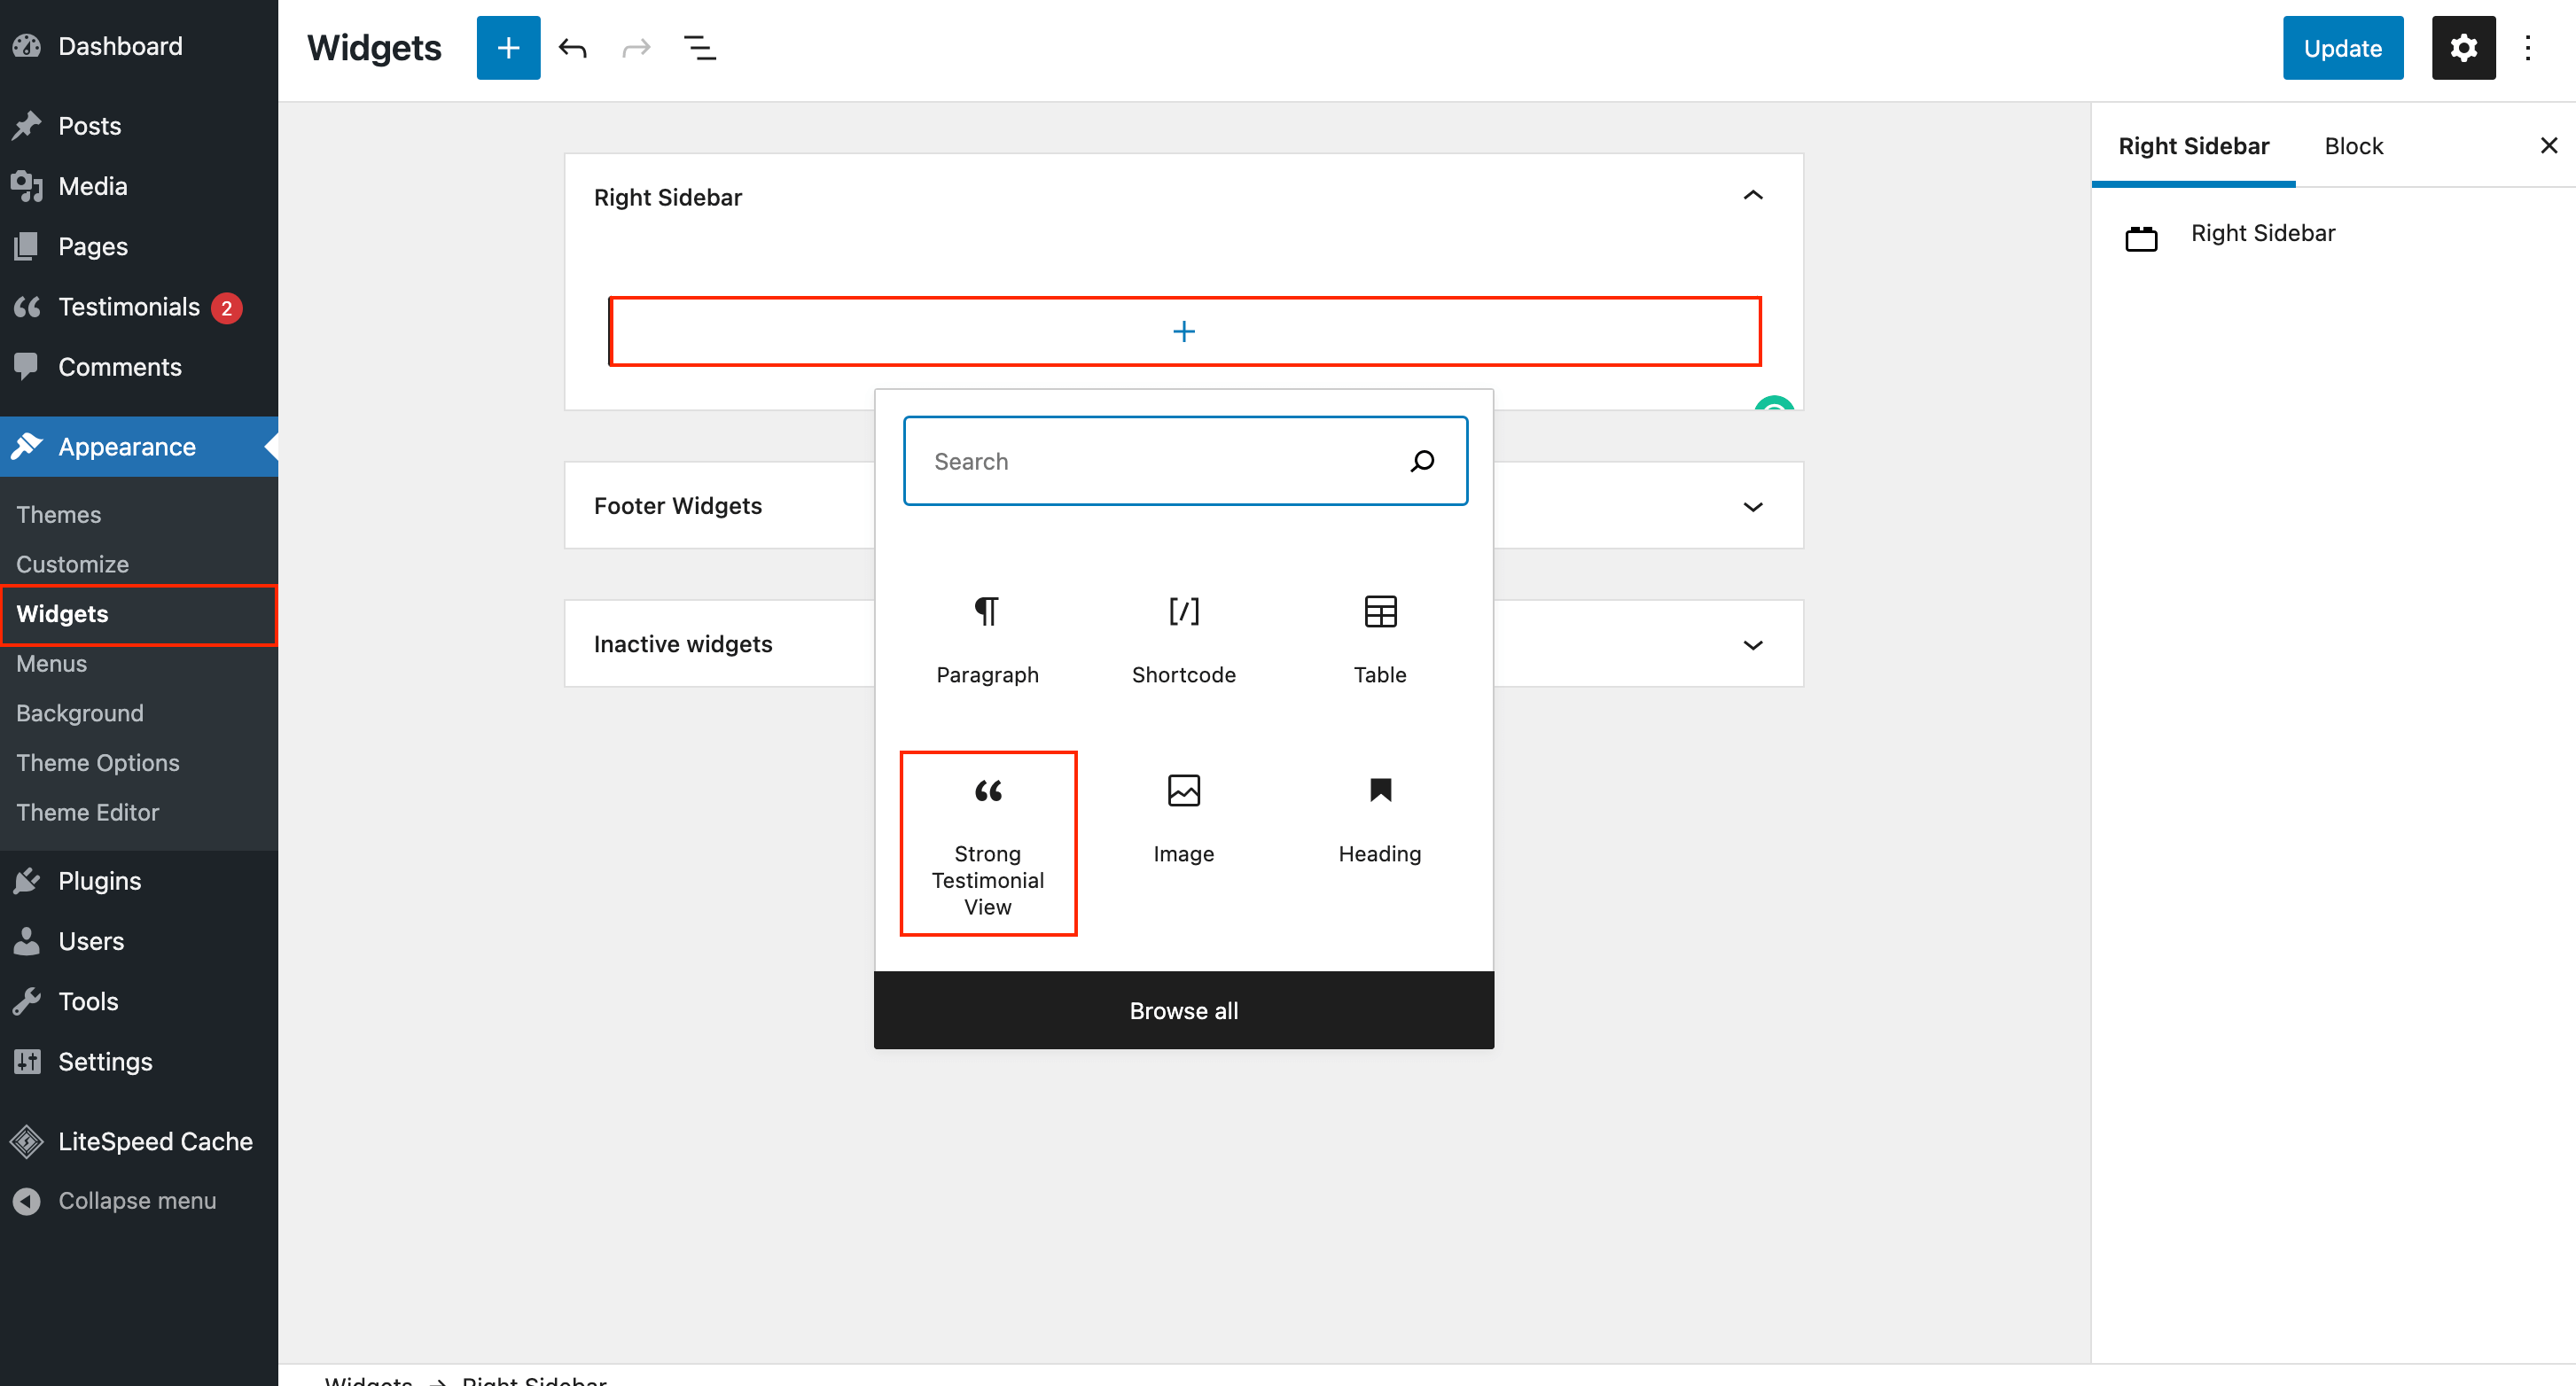
You will be directed to select one of the views you created from a drop-down list in the widget block.
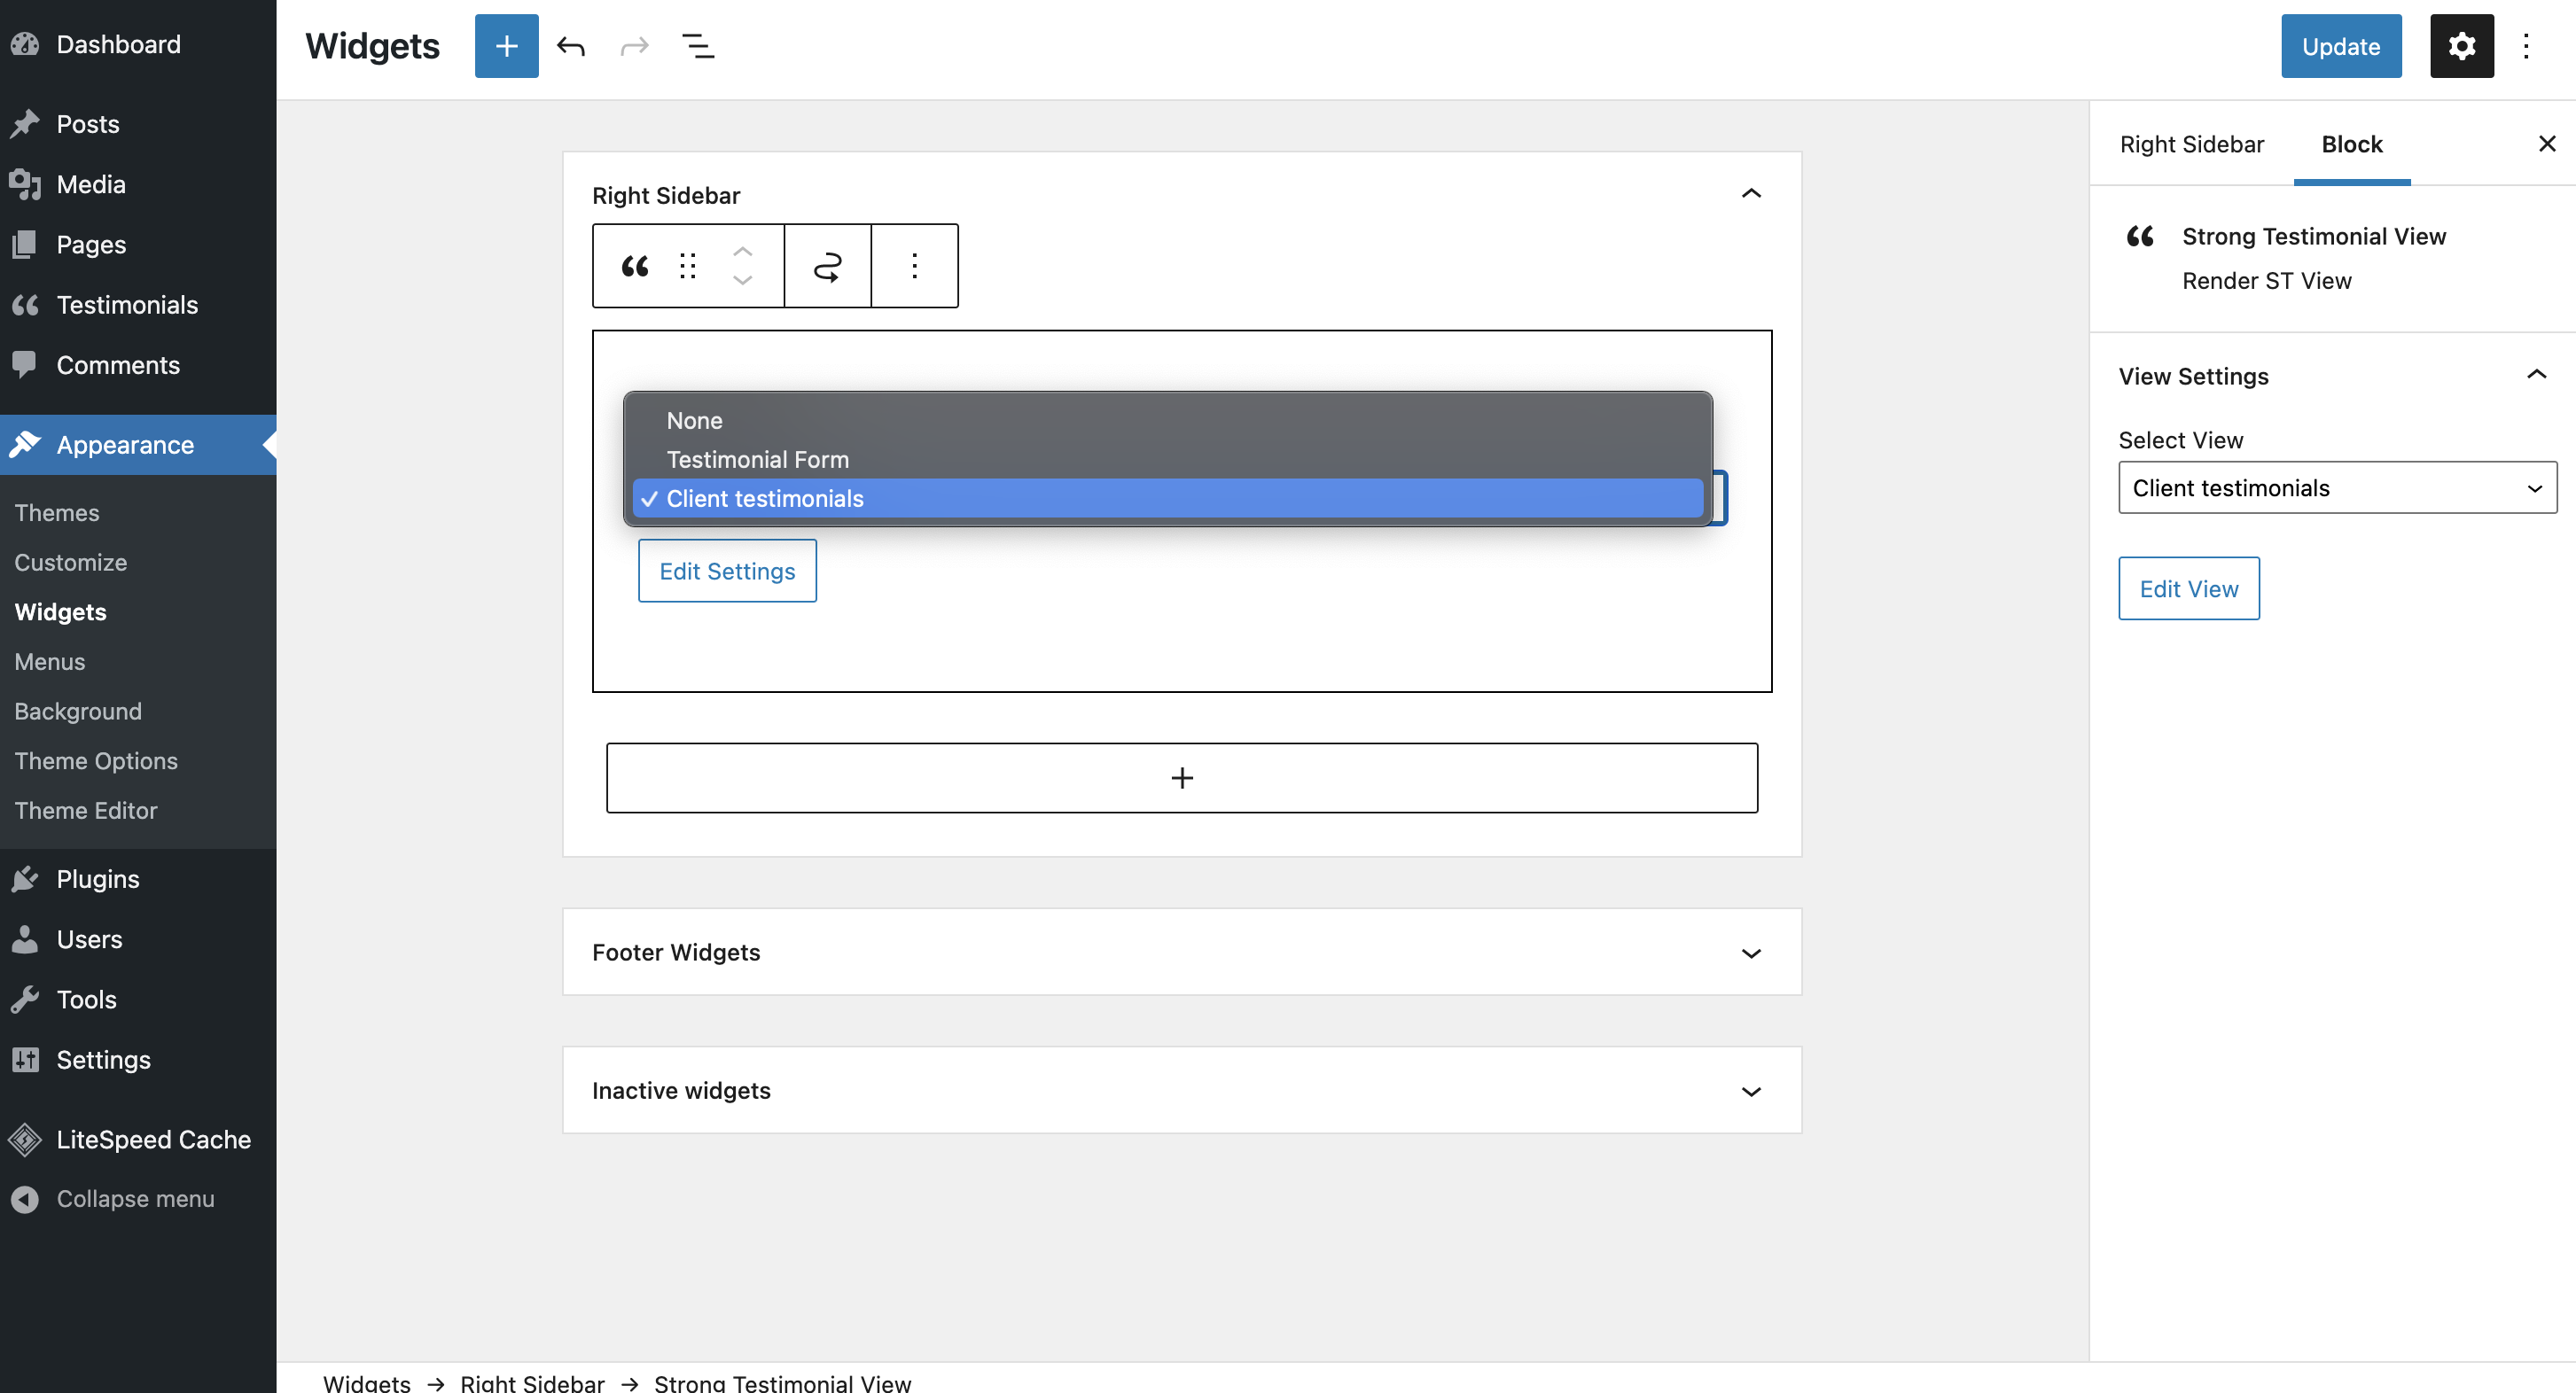
However, it is recommended to make a testimonial slider to showcase multiple testimonials that will have the maximum impact. Once you finished, click Update.
To see if it works, refresh your main page and see it in action.
So, what can I do using Strong Testimonials?
1. Allows brands to display testimonials on a sidebar – Go through your best testimonials and showcase the most impactful ones in an elegant manner. No matter the page they land on your website, they will have an insight into your testimonials everywhere.
2. Add testimonials to the website footer – Add carefully picked testimonials and display them in your website footer to assist in attracting the attention and interest of people who have stumbled into your site by accident. As a result, you may turn new visitors into potential customers and increase your sales.
3. Add a face to a testimonial to boost credibility – Reaffirm your credentials to people who are visiting your site for the first time. In addition, if done correctly, attaching customers’ details and an image, the testimonials you display will make the customer trust you more with what you are promising as a brand.
Conclusion
And this is how you add testimonials in your wordpress sidebar and footer using the Strong Testimonials plugin. Install Strong Testimonials and attract more clients with beautiful testimonials that are fun and easy to create.
Furthermore, you can utilize this feature if you subscribe to our Plus Plan. So, what are you waiting for? Get Strong Testimonials and everything it has to offer right now at a great price! 😁
Strong Testimonials Plugin
We’ve built the #1 WordPress plugin for collecting, managing, and displaying testimonials. Drive more sales by leveraging your existing user audience.