There are benefits to operating a business globally but also difficulties. The Internet is becoming a competitive market with every passing day and winning customers over competition requires businesses to opt for targeted strategies. In a cross-cultural world, overcoming cultural barriers requires business owners to engage with individuals who speak various native languages.
Giving website visitors the option to select their preferred language is one method to strengthen ties between your company and its global audience and make your audience feel more connected. Given the significance of testimonials in establishing a company’s legitimacy and trustworthiness, you should ensure that they are available in languages your website’s users understand.
Table of contents
Why do we need to display testimonials in multiple languages?
Only one-quarter of online users are native English speakers. To capture the remaining three quarters, you should have a website that displays your content and testimonials in their language.
The benefits of testimonials are well-known and cannot be ignored by any business that understands the power of social proof. However, many businesses that operate worldwide fail to provide their testimonial content in more than one language (usually English). Having testimonials in the preferred language of a user will give them plenty of context about your business and why they should opt for it; otherwise, a foreigner might not understand what the customers said about your offerings and may leave your website for another if your competitor has provided the multilingual accessibility.
One easy and effective way is to create testimonials with Strong Testimonials and translate those testimonials into the languages of your choice (40+ translation options) with WPML by integrating both of these plugins.
The tools you will require:
To achieve our purpose, we will work with two plugins. WPML (any paid plan) and Strong Testimonials.
WPML
WPML is a plugin that can translate your complete website content into more than 45 languages, including automatic and manual translation options. Also, this plugin can translate a website with a single page as well as a very extensive website with thousands of pages.
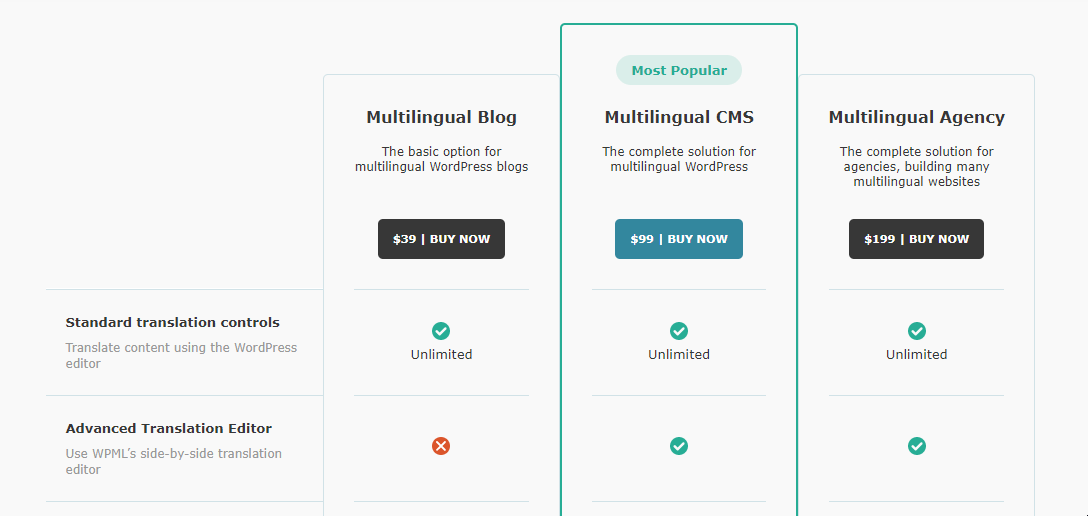
WPML is a premium plugin; therefore, you’ll need to buy one of the offered plans based on your needs to use it. Specific details of each premium plan and its offerings can be viewed here. Once purchased, you must download the files from your WPML account and install and configure them into your WordPress website. For this tutorial, our objective can be achieved with any plan.
Strong Testimonials
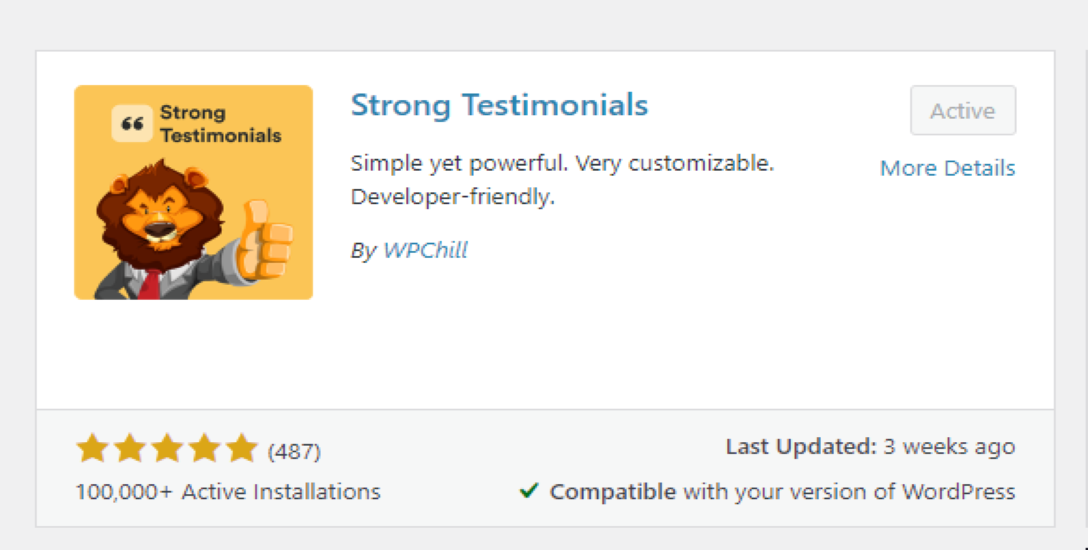
Strong Testimonials is the most popular testimonials plugin on WordPress, with over 100,000 active installations and over 400 5-star ratings. With this plugin, you can manually submit client testimonials from your website’s admin interface, import them from other review platforms or gather them directly from customers by having them fill out a form on your website. Installing and configuring the Strong Testimonials plugin is simple.
⚡ What makes this plugin superior to its competition? Take a quick look at the comparison.
Although its free version offers some really exciting features, upgrading your free plan to a paid one would mean that you will have more options. Take a quick tour of what this plugin offers and read more about premium features you can unlock by purchasing a pro plan.

Strong Testimonials Plugin
We’ve built the #1 WordPress plugin for collecting, managing, and displaying testimonials. Drive more sales by leveraging your existing user audience.
How to display Testimonials in multiple languages
We are going to discuss a step-by-step approach to achieving our objective. Please follow along.
1. Setting up the WPML
WPML is not a free plugin; because of this, you won’t be able to find WPML in the list of open-source WordPress plugins. To get started, you must visit the WPML website and purchase one of the offered plans based on your needs.
Once done, you will have to log into your WPML account and download the purchased files that you will be required to install into your WordPress website. For installation, click on the “Plugins” tab in your WordPress admin dashboard and select “Add new,” choose “Upload Plugin,”

Add the download file onto it, and install it. Repeat the same process for the other files in your WPML account, after which you will be required to activate and configure it into your WordPress website.
💡 Please review this FAQ for more information on installing and configuring WPML.
2. Setting up the Strong Testimonials
Next, you will have to install and activate Strong Testimonials. To do that, click on the “Plugins” tab in your WordPress admin dashboard and select “Add new.” In the search bar, look for Strong Testimonials (developed by WPChill). Click on “Install Now”. Once installed, click on “Activate”.
By this time, you should have both the WPML and Strong Testimonials activated in the installed plugin tab. By integrating both installed plugins, we will ensure that the testimonials we add are displayed in multiple languages of our choice.
3. Creating testimonials
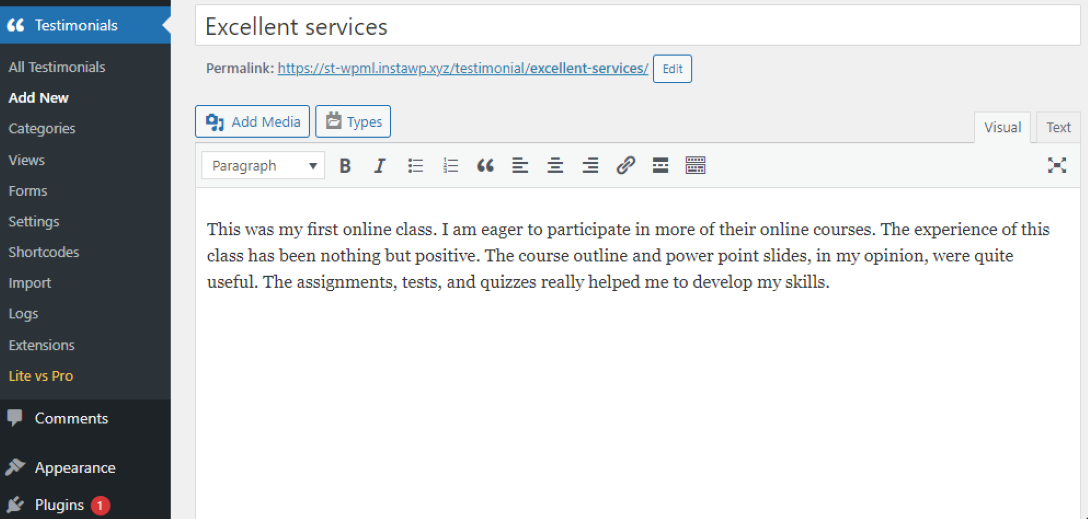
The next step is to create new testimonials. Once the plugin “Strong Testimonials” has been installed and activated successfully, a new menu entry will be added to your WordPress admin area called “Testimonials.” Hover your mouse over that option, and click “Add new”.
On the “Add new” page, you will view a few fields that you will be required to fill to create a testimonial, like a title, description, email, full name, company name, company website, and rating out of 5 stars along with any relevant image/video.
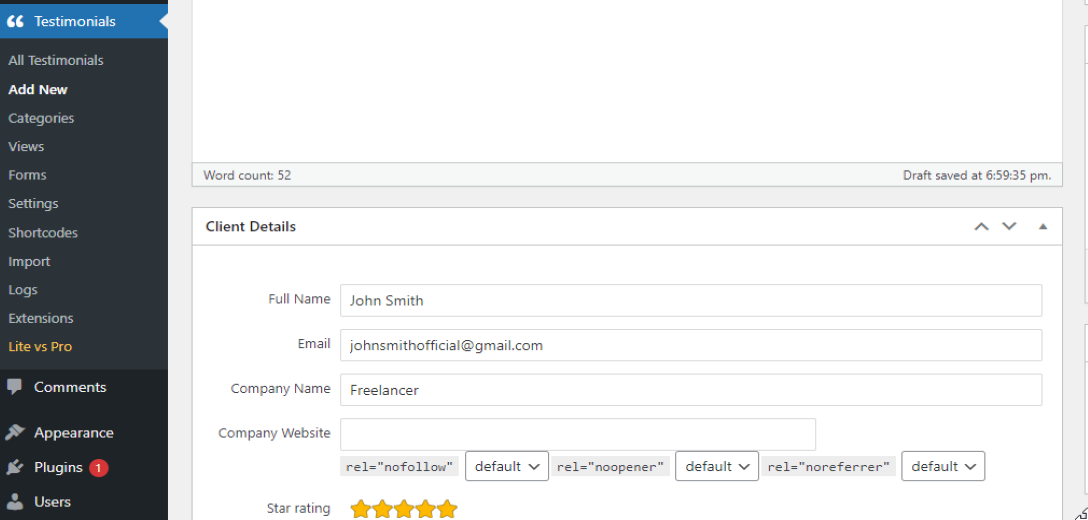
On the right, you will also see some WPML options like language selection for the testimonial and translation priority. Language selection refers to choosing the language in which testimonial details have been entered.
💡 You can read more about translation priority here.
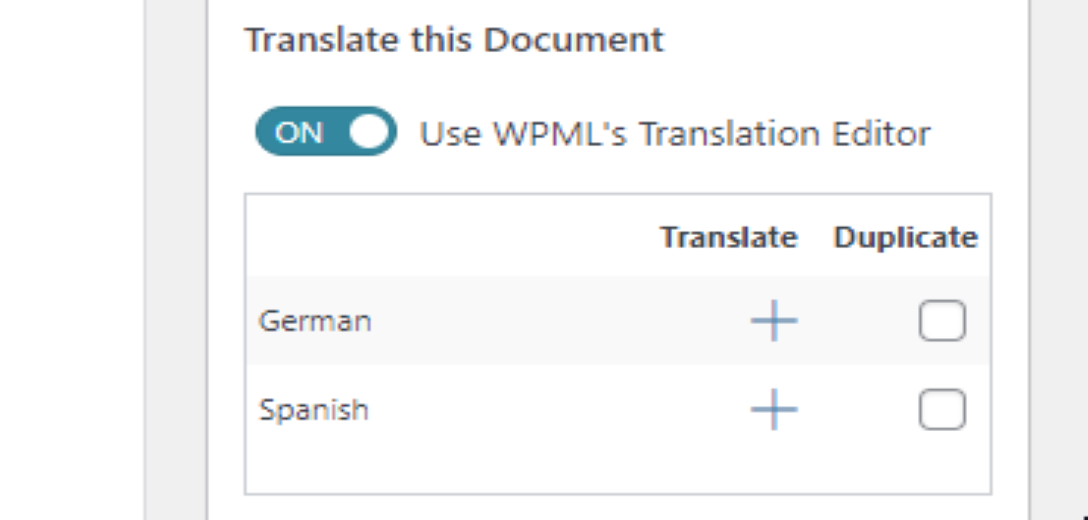
Once done with the original content of the testimonial, hit publish. After publishing, you can see further WPML options allowing you to enter translations for the languages you have added in your WPML languages section.
💡 Check this article if you are unsure how to add, remove, configure languages, or use custom options in WPML.
To translate the testimonial into other languages, you must opt for either automatic or manual translations. In this post, we will add manual translations with the WPML editor, as automatic translations work on a different system requiring credits.
💡 You can check this document if you wish to read further about automatic translations.
For manual translations, keep the option of the WPML editor as “ON,” as turning it “OFF” would mean that you would want to add translations via WordPress Editor. Next, click on “+” in front of each language, redirecting you to the WPML editor page.
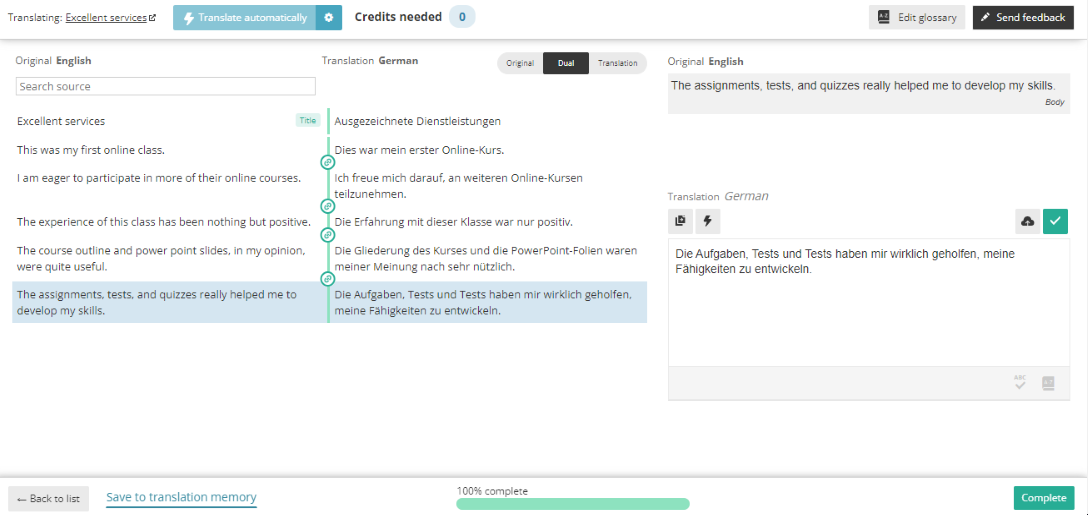
Add the translations for each phrase and click on complete. Repeat the same process for adding translations in all the remaining languages.
Custom fields translation
You may encounter certain scenarios where you can’t translate custom fields such as Name or Company fields. The fields might not show up among the options when you use Advanced Translation Manager.
The setting preventing the translation of a default custom field value in Strong Testimonials is added via wpml-config.xml file in …/wp-content/plugins/strong-testimonials/wpml-config.xml. As by default, the translation of the default custom fields value is not allowed.
If someone wants to be able to translate these, the WPML Strong Testimonials custom fields settings can be overwritten here:
Step 1: Click on the “lock” icon.
Step 2: Check the “Copy once” checkbox.
Step 3: Click on the “Save” button.
💡 You can also request your customers to fill out and submit the testimonials form.
One of the very cool features that Strong Testimonials offers is the ability to moderate, which means you can publish or reject any testimonial that has been received from your customers. Also, once the customer fills in and submits a testimonial, you can view it in the pending testimonials, where you can select WPML options before publishing.
Also, you can add the translations of other languages by following the same process as previously discussed.
Make sure to repeat the testimonials’ publishing process and add translations in the selected languages.
4. Assigning a View to testimonials
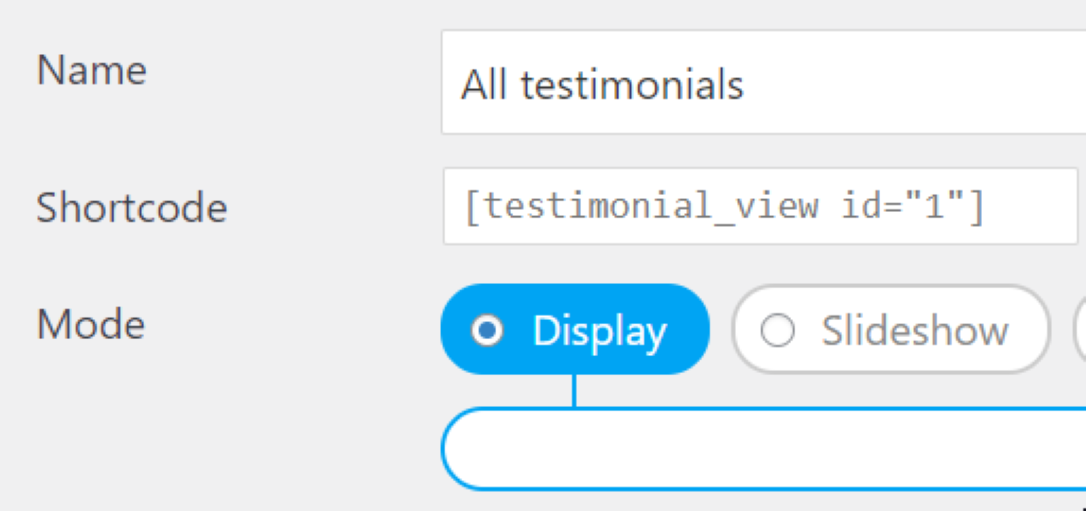
Next, you must decide whether to show your testimonials in the display or slideshow view. For that, you will need to create a view for presenting testimonials on the front end of the website. Go to “Views” under testimonials and choose “Add new”.
💡 Please consult this document to read more about settings while creating a view.
The display view would show testimonials vertically, and the slideshow view would show the testimonials horizontally with a slider. You can either assign all or a few testimonials based on your choice.
5. Displaying Testimonials on the website
Once all testimonials have been added and have been assigned to a view, A shortcode of each view can be used to publish the testimonials on your website.
Selecting the right page to publish the testimonials is essential; In case you would like to develop a separate page for the testimonials, you can do that by creating a new page through your WordPress admin, else adding testimonials under an existing page would only require you to add the shortcode on that page.
💡 This plugin works perfectly with any WordPress page builder. To know more about creating a new page for testimonials, click here.
Once the page has been selected and/or created for testimonials, paste the shortcodes to add the testimonials. Be sure to check whether or not those testimonials have been added on the front end of your website in the view that you have selected and whether or not all the translations of the testimonials are being displayed correctly when you switch the language.
You will also be required to add the translations of all the remaining parts of the pages along with testimonials to make sure whenever the user clicks on the other languages, the complete content of the page is displayed in that language.
Below is an example of a slideshow view.
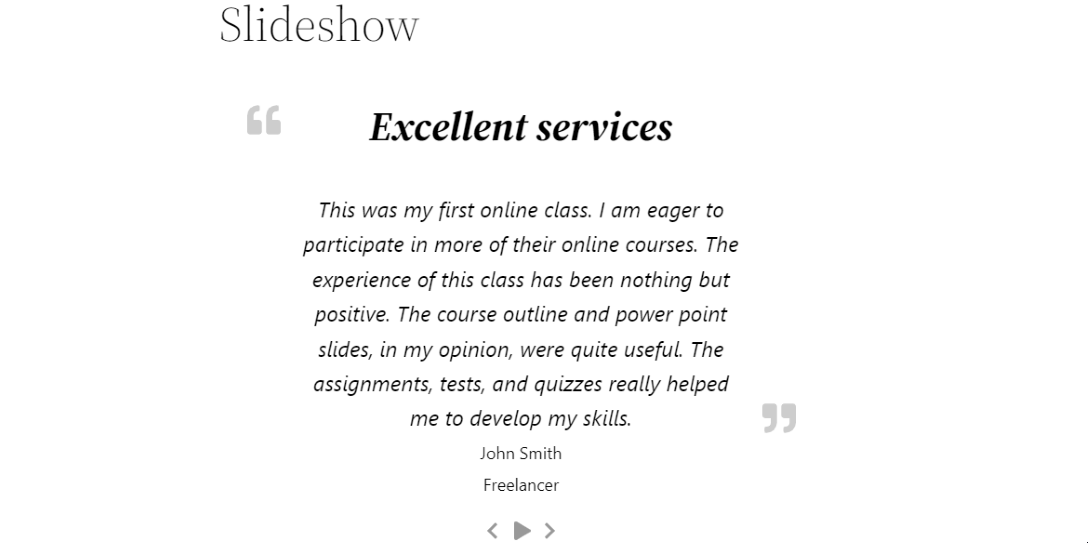
In our example, we have three languages, English, Spanish and German. As English is the default language, whenever a user clicks on any of the other two languages, the content should be displayed in that respective language, as we have added the translations.
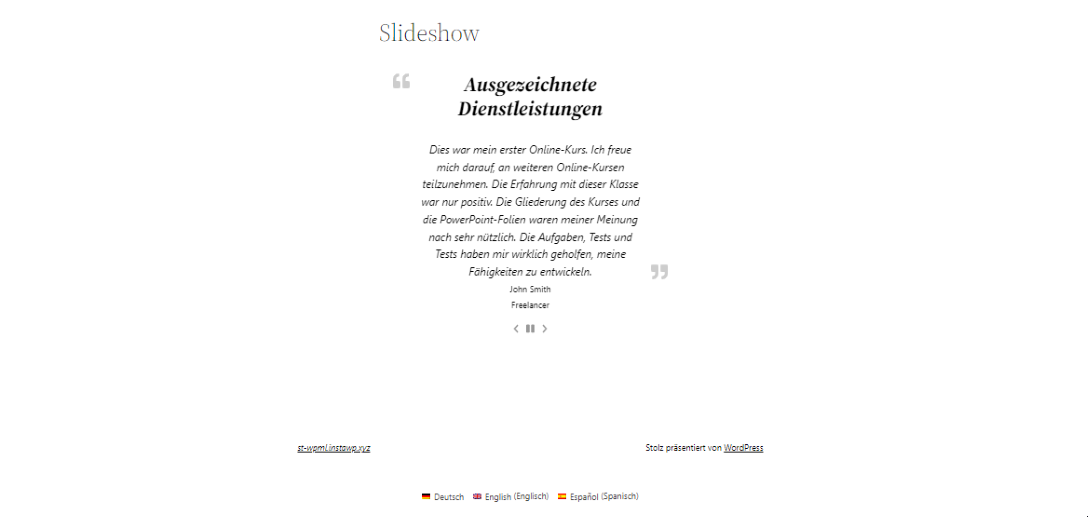
If The user clicks on the German language, the page is translated to show content in German, as shown below.
One easy technique to determine if all testimonials have been published in each language you’ve chosen is to click “All Testimonials” on the Testimonials tab from the admin. You’ll find a list of testimonials in all languages and a breakdown by language.
You might also be wondering about options like average ratings and testimonial count. To display both of these on your testimonials page, you will have to go to “Shortcodes” under testimonials and again paste the shortcodes on the testimonials page to display these options in the front end.
The average rating would vary by each language, as we can select different ratings, and we might not translate all the testimonials in every language. However, to maintain consistency in ratings whenever a user changes languages, you must ensure that the original testimonial is translated into all of the languages displayed and that the rating that the original testimonial received is replicated across all of the translations of a testimonial.
Similarly, the testimonial count by language would display the number of testimonials submitted in each language. If all the testimonials have been translated into the selected languages, then the testimonial count would be the same for each language; however, it can vary if not every testimonial has been translated.
Conclusion
To display testimonials in multiple languages on your website, install and activate both WPML and Strong Testimonials. Strong Testimonials will help you add and publish the testimonials, and WPML will translate the content of those testimonials with manual translations through the WPML editor after publishing them in the selected language. Under testimonials, create a view, assign all or selected testimonials to it, and paste the shortcodes on the website page through the WordPress editor to display them on your website.
The integration of WPML and Strong Testimonials is one of the most popular solutions for displaying testimonials in multiple languages, as WPML is one of the top picks for translating your website into more than 40 languages and Strong Testimonials is the most user-friendly and powerful plugin for displaying testimonials on your website.
Be sure to check the pro versions of Strong Testimonials that offer exciting add-ons like country selector, importing testimonials from 3rd party applications, and many more.
Strong Testimonials Plugin
We’ve built the #1 WordPress plugin for collecting, managing, and displaying testimonials. Drive more sales by leveraging your existing user audience.