For many WordPress users, WPML (WordPress Multilingual Plugin) is a powerful solution to seamlessly translate website content into multiple languages.
For those employing the Strong Testimonials plugin in conjunction with WPML, the issue of untranslatable fields may be familiar.
This knowledge base article is designed to guide you through the steps to enable the translation of custom testimonials fields, such as Name or Company.
Note: For this tutorial, you will need to have both WPML Multilingual CMS and WPML String Translation installed and activated.

Installing and configuring WPML
WPML (WordPress Multilingual Plugin) is a popular plugin for creating multilingual websites with WordPress. It allows you to translate your website’s content into different languages.
WPML offers you a quick and simple Getting Started guide you can follow along.
Set up languages
To set up languages in WPML, head to your Dashboard > WPML > Languages.
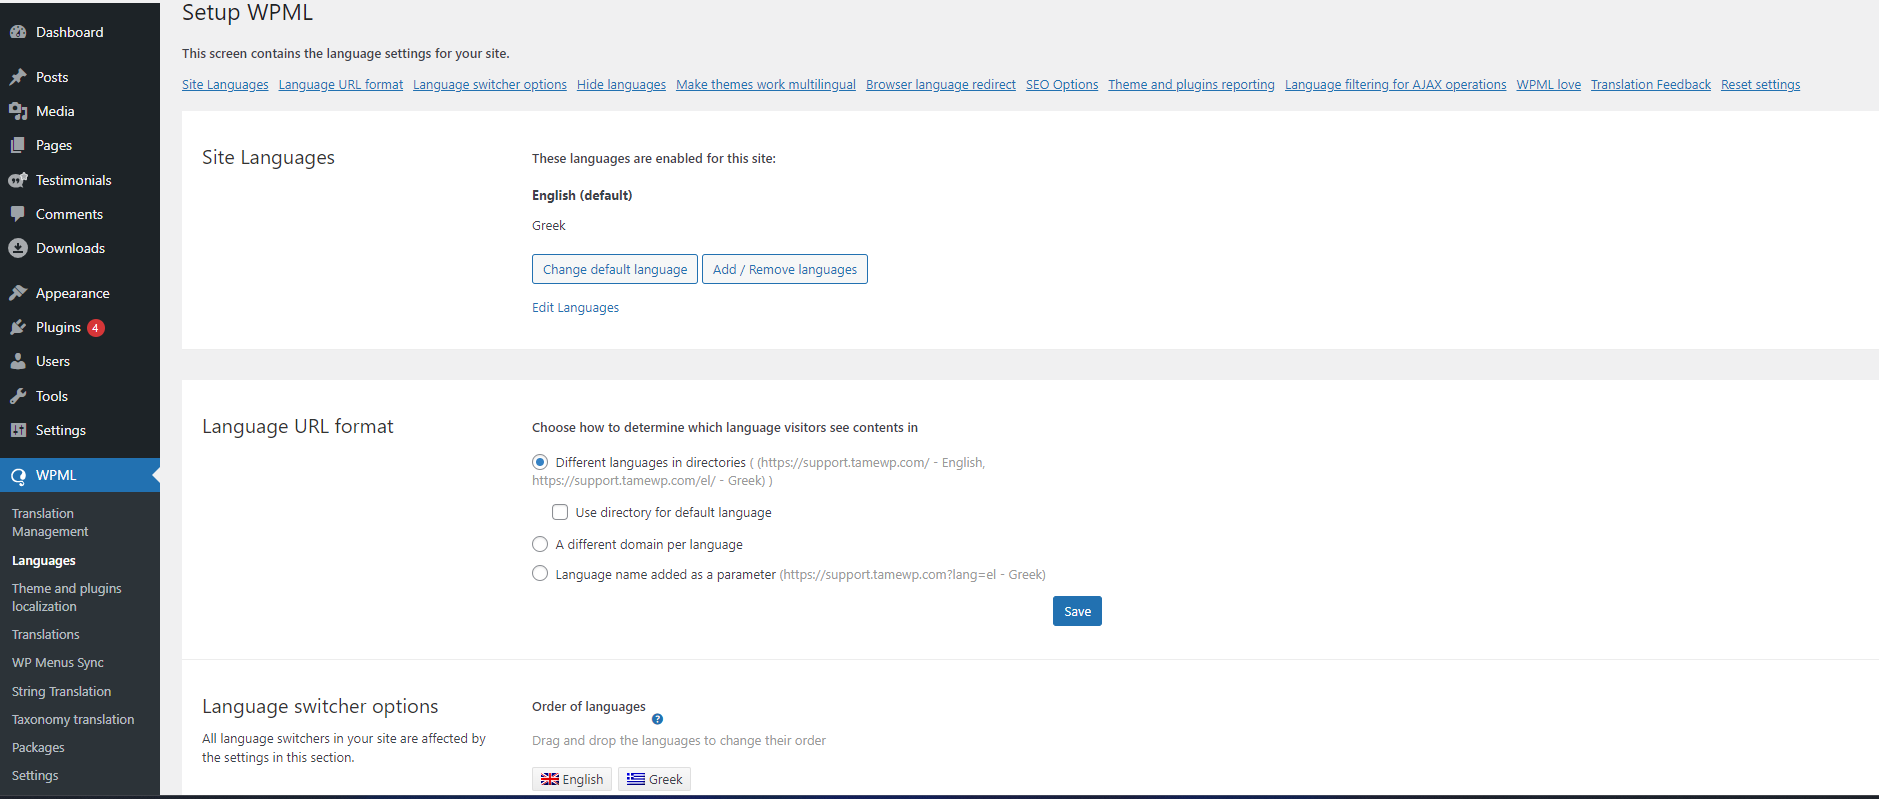
In the Site Languages section, click the Add/Remove languages button to add your desired language.
Here you can also set up the Language URL format.
After that, go to Dashboard > WPML > Settings > Multilingual Content Setup tab
From there, make sure you have the Translate Everything selected under Translation Mode.
Next, click on the Post Types Translation link in the same tab.
Locate the testimonials section and make sure the Translatable is ticked.
Back to the Multilingual Content Setup tab, click on the Taxonomies translation link.
Search for the Testimonial categories and make sure that is Translatable as well.
Note: Please keep in mind that testimonials will not be translated automatically – you will need to add translations for each language.
To translate testimonials, please go to a Testimonial > edit it > scroll until you see a WPML setting ‘Make testimonials translatable‘ > check that and save.
You will then be able to select the language for that testimonial. And when you edit the rest of the testimonials or add a new one, you can select the language by clicking on the “+”.

Translating testimonial fields
By default, the translation of default custom field values is not permitted.
There is, however, a workaround for this so you can translate testimonial fields.
Head over to your Dashboard > WPML > Settings > Custom fields translation.
Next, click the lock icon of the custom field you wish to translate: client_name, company_name, company_website, or email fields.
Once you’ve done that, ensure the Copy column checkbox is checked.
After that, scroll down and click on the Save button.